Mushroom Wellington
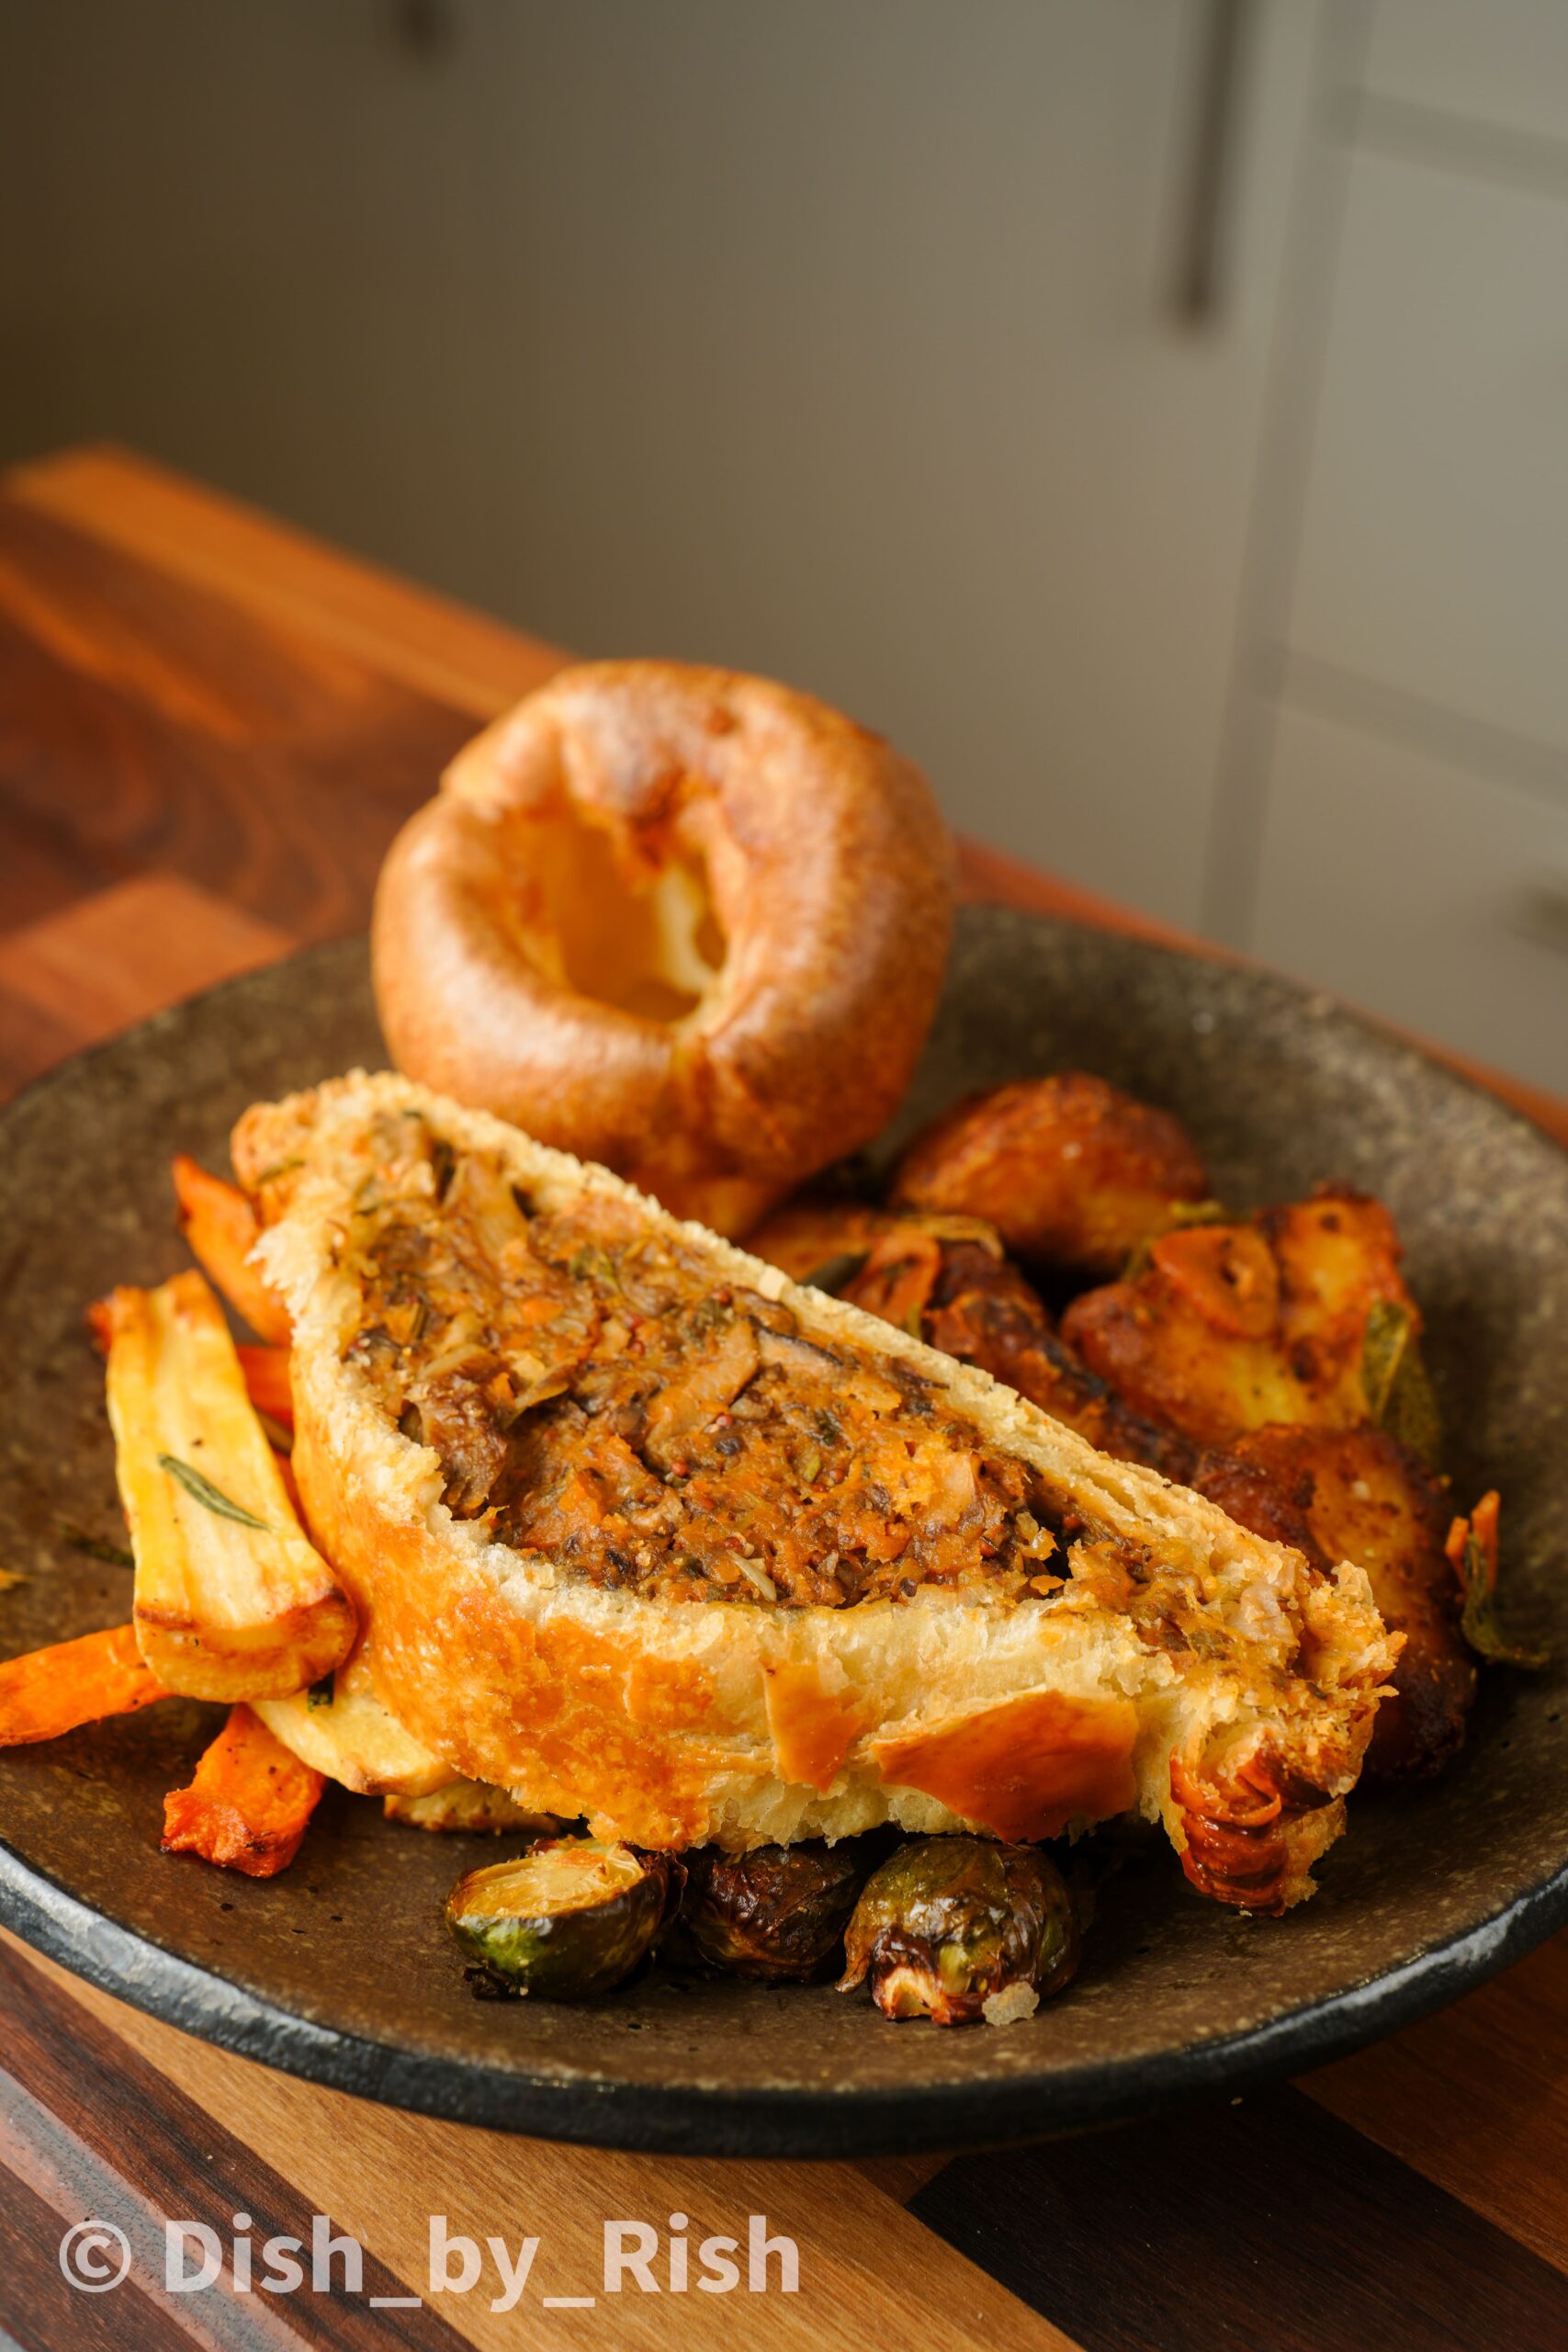
This hearty Mushroom Wellington has 3 types of caramelised mushrooms along with roasting herbs and a mirepoix. Encased in buttery puff pastry.
Mushroom Wellington
This Mushroom Wellington ticks all my boxes for a festive main. It’s hearty, packed with seasonal flavours, and perfect for sharing. It’s a brilliant vegetarian main dish to add to your Thanksgiving or Christmas table.
This wellington has THREE types of mushrooms which have been caramelised to intensify their flavours. All entwined with a mirepoix of carrots, celery, and onion which creates an aromatic flavour base to add complexity and depth. Seasoned with garlic and a herb trio of rosemary, sage, and thyme which add the quintessential ‘roast’ flavour.

This Vegetarian Wellington is packed with flavour
The Mushrooms and Vegetables
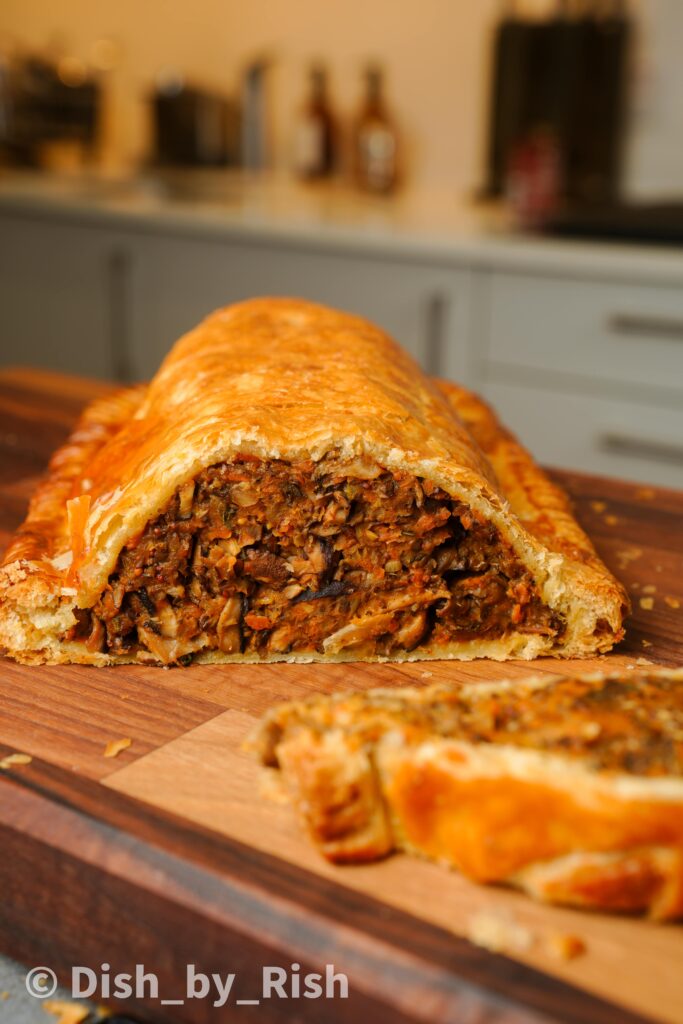
The combination of caramelised mushrooms adds nuttiness, earthiness, and a ton of umami. The mirepoix adds sweetness and texture, but also becomes an aromatic flavour base. Not to forget the combination of sage, rosemary, and thyme which adds warmth, earthiness, and freshness.
The umami additions
We’re also adding even more umami by incorporating a combination of miso paste and tomato paste. The tomato paste has a rich concentrated flavour with a subtle hint of sweetness. Using both pastes helps to add a ton of savouriness due to their high glutamate content.
Puff pastry
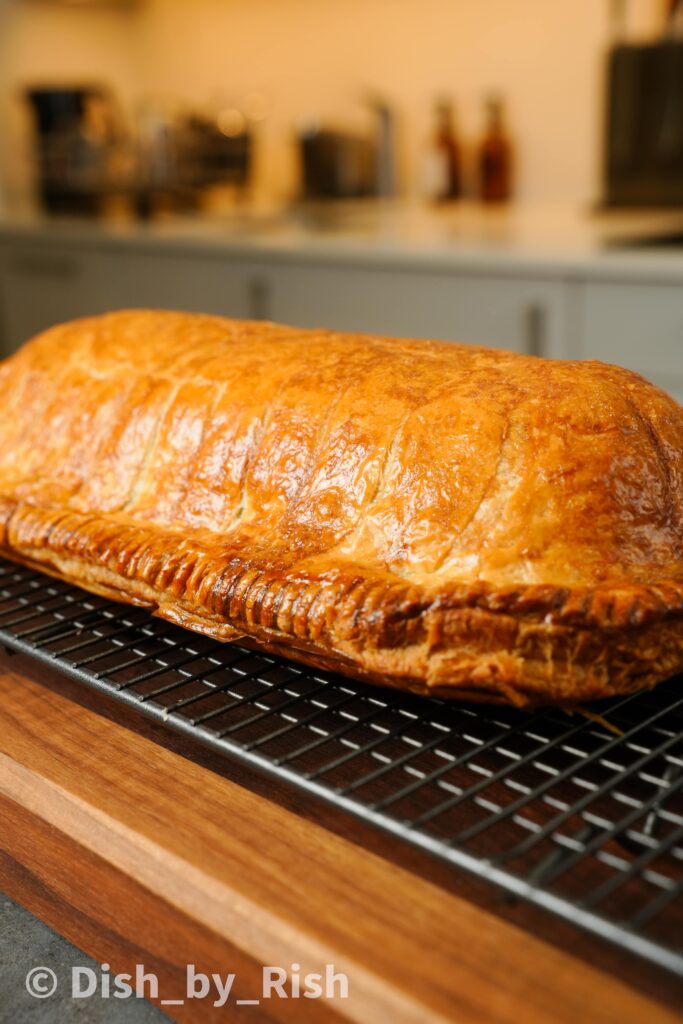
The entire wellington is encased in buttery puff pastry, which makes for the perfect flaky blanket. We’re scoring a light pattern into the pastry, glazing with an egg wash or egg alternative, and baking until golden brown and beautifully ‘puffed’.

What is a Wellington?
The origins lie in a Beef Wellington, which consists of beef wrapped in a mushroom duxelles coating in puff pastry. It’s said this originated in England, though the jury is still out on this one.
Plenty of variations of the wellington have since been created, including a huge number of vegetarian options. This mushroom wellington has been the most popular Christmas recipe from my blog for the last 4 years.
Mushroom Wellington serving suggestions
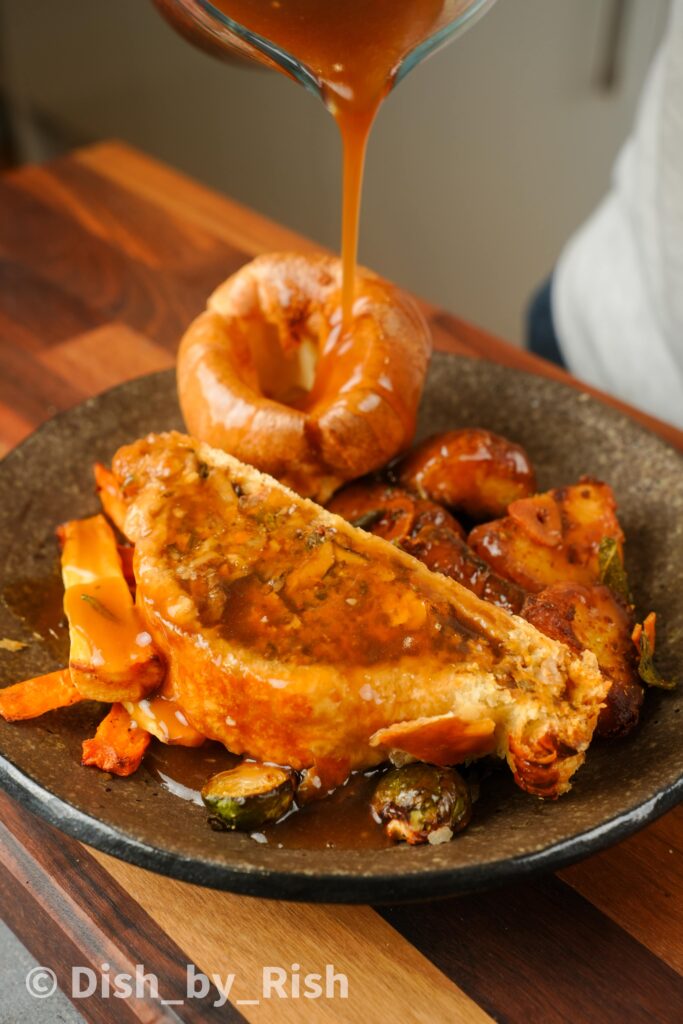
I usually serve this Mushroom Wellington with all the trimmings. It makes for a full plate of delicious food which always leaves people very content. These include:
- Garlic and Herb Roast Potatoes
- Truffle and Brie Cauliflower Cheese
- Roasted carrots and parsnips – tossed in olive oil, salt, pepper, and rosemary before being roasted till caramelised
- Roasted brussels sprouts – tossed in olive oil , salt, pepper, garlic, and thyme before being roasted till caramelised
- Yorkshire puddings – ‘puddings’ made from a batter of eggs, flour, and milk which are baked till they puff up. These are similar to American popovers
- Onion gravy
Let’s talk about some of the ingredients
I’ll cover the main ones below but the full recipe can be found at the end
- Puff pastry – I use a shop bought roll of puff pastry
- Mushrooms – We’ll be using 3 different types, chestnut (baby bella), shiitake, and oyster. Each one provides a different flavour profile and texture. Mushrooms are naturally high in glutamates and using different varieties in combination maximises the umami of the dish
- Mirepoix – a traditional French aromatic and flavour base made from celery, carrots and white onion. This adds depth and complexity
- Fresh herbs – we’re using rosemary, sage, and thyme here which provide the quintessential ‘roast flavour’
- Tomato paste and miso paste – these two pastes add umami due to their high glutamate content, along with a hint of sweetness from the concentrated tomato paste
- Instant mash – this will bind the mixture together. If you’re plant-based then please double check your instant mash as some brands contain milk powder
- Cornflour – this is cornflour for UK reader and corn starch for US readers. This also helps to bind the mushroom wellington together

The KEY tips for making this Mushroom Wellington
- Assemble on grease proof paper – this makes it a lot easier to move around and transfer from a chopping board to a baking sheet
- Keep everything chilled – puff pastry contains layers of solid butter which melt when exposed to heat, in turn producing steam that causes the puff and the flakiness. If your filling is still warm when you assemble, the butter will melt and your puff pastry will not be puffing
- Chill the wellington before baking – when working with puff pastry, this is an essential step in order to chill the layers of butter. You’ll end up with a far better result
- Cook the mirepoix low and slow – the intention is to sweat the aromatics down rather than caramelise them. This creates a subtle but flavourful base that complements the earthiness of the mushrooms without overpowering them. The stars of the show here are most definitely the mushrooms
- Score the pastry lightly – these are shallow cuts on the surface of the pastry, which provide ‘fault lines’ for a neat expansion as the pastry bakes. I also create 3 vents at the top of the pastry for steam to escape, which keeps the pastry crispy for longer
- Re-apply the egg wash for extra shine – (optional) in the last 15 minutes of baking, brush on an extra layer of egg wash if you want an extra glossy sheen
How to make this Mushroom Wellington
Let’s start with the mushroom filling
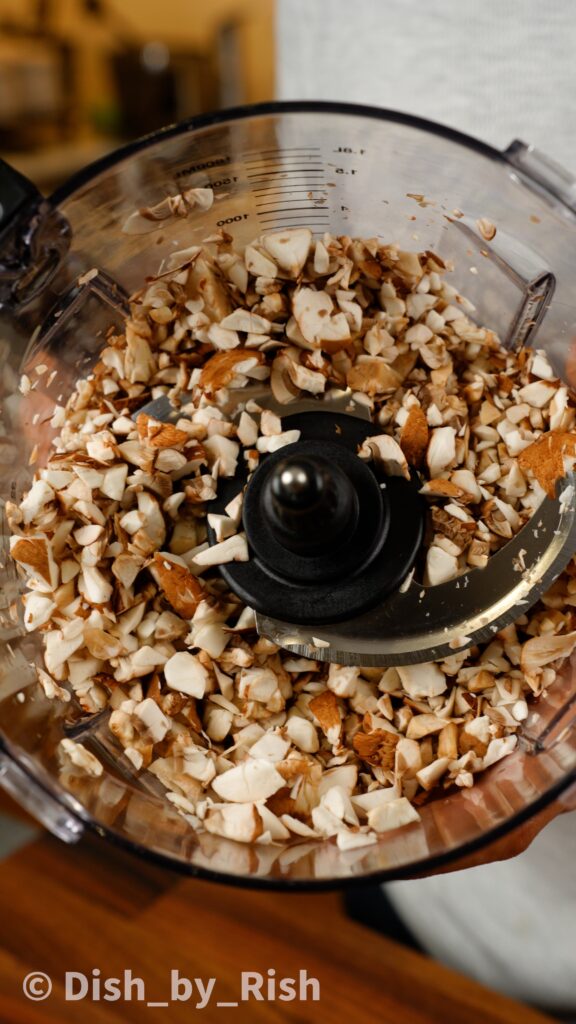
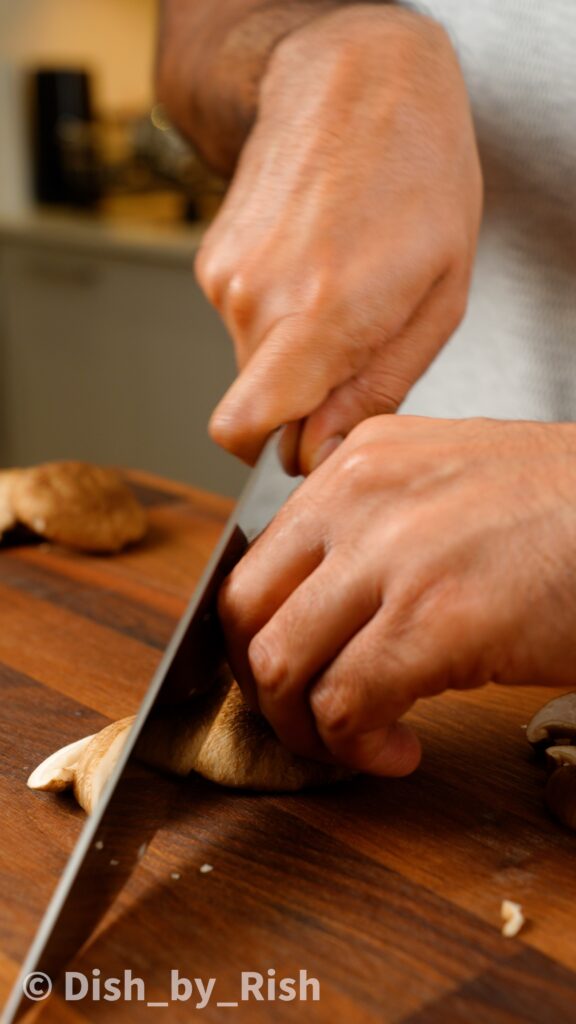
Start by blitzing/chopping the chestnut/baby bella mushrooms until they’re roughly chopped. For the shiitake, simply de-stem and thinly slice the caps


For the oyster mushrooms, tear these into thin strips. Then, caramelise all of the mushrooms in batches, in a hot dry pan (no oil needed)

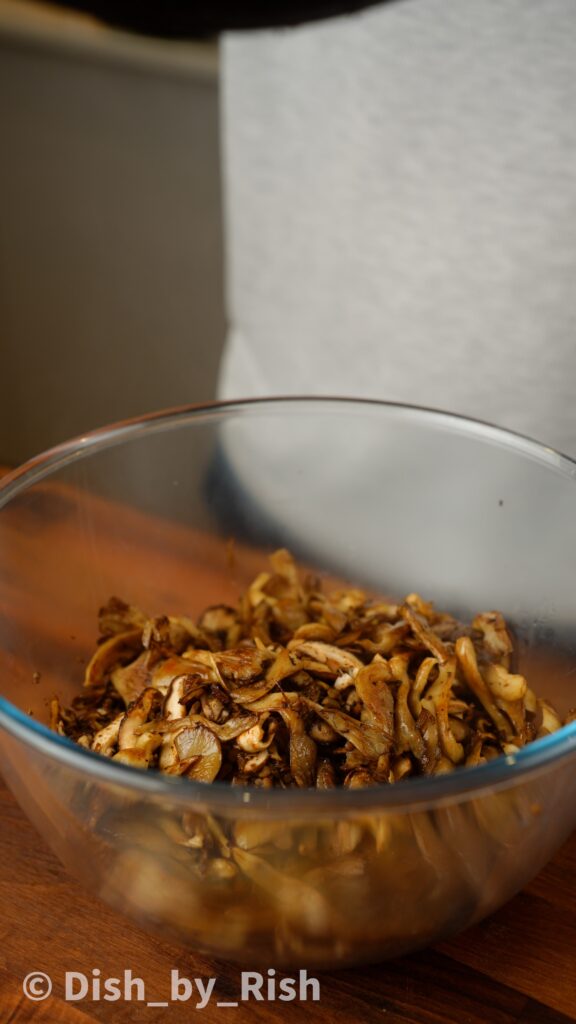
Once they smell nutty and look caramelised, transfer them to a mixing bowl or tray


To make the mirepoix, start by blitzing or very finely chopping the carrots, celery, and onion
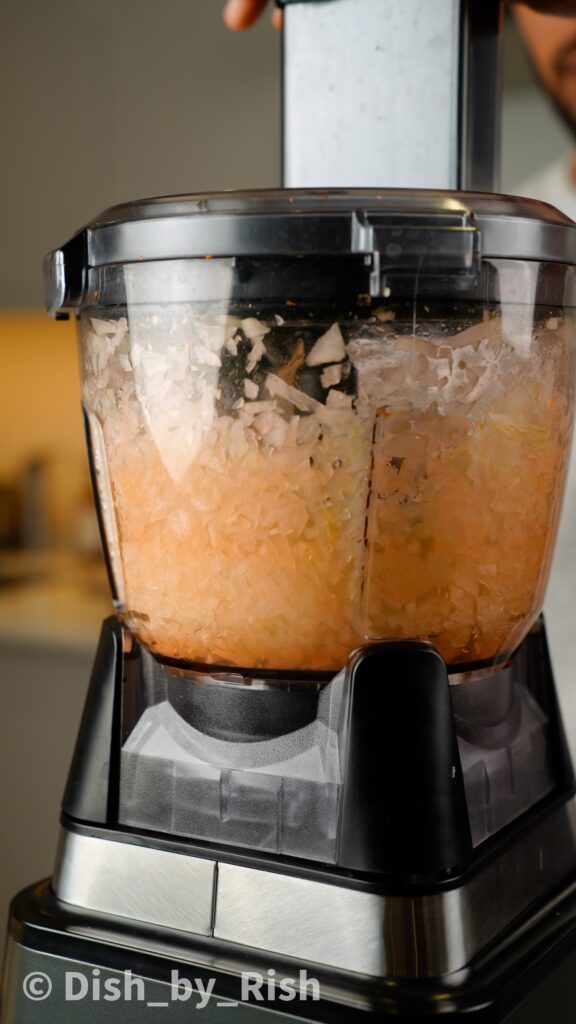

Next, heat a pan with olive oil over a low heat and sauté the mirepoix low and slow for around 10-15 minutes
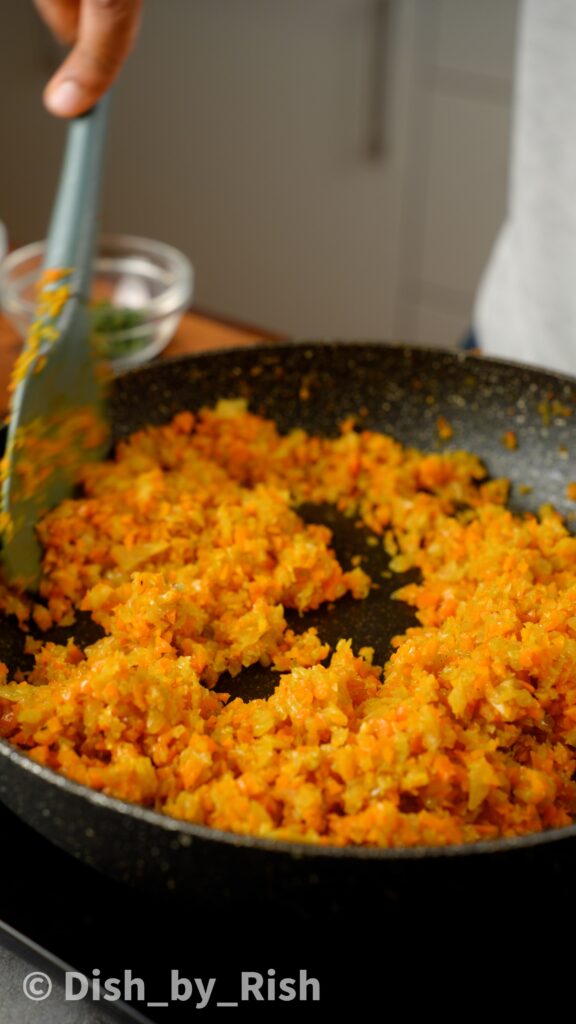

Once the moisture has been sweated out, it’s time to season. Mix the miso paste and tomato paste with boiling water until it forms a smooth paste


Then, add the miso tomato mixture to the mirepoix along with the garlic and fresh herbs
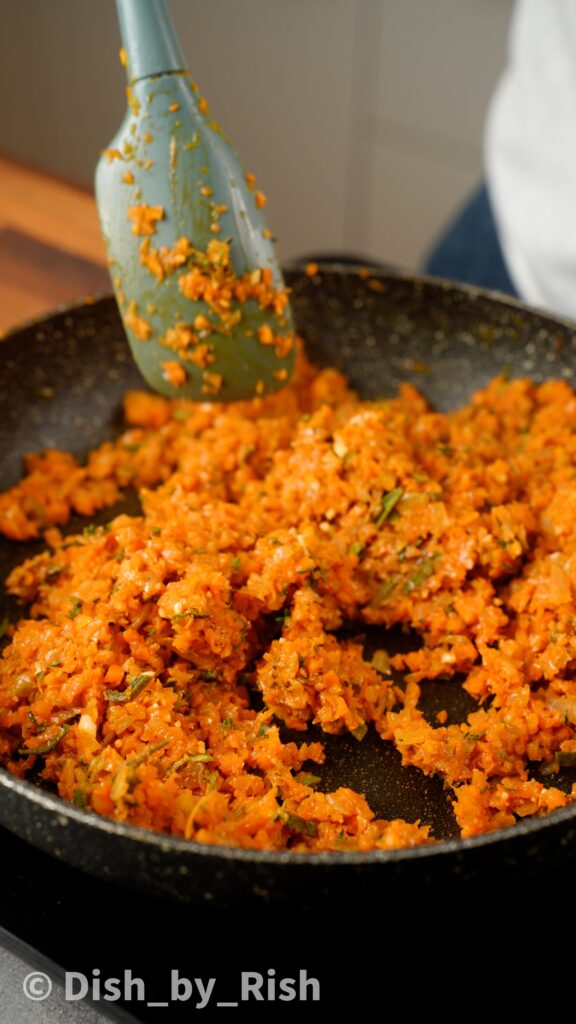
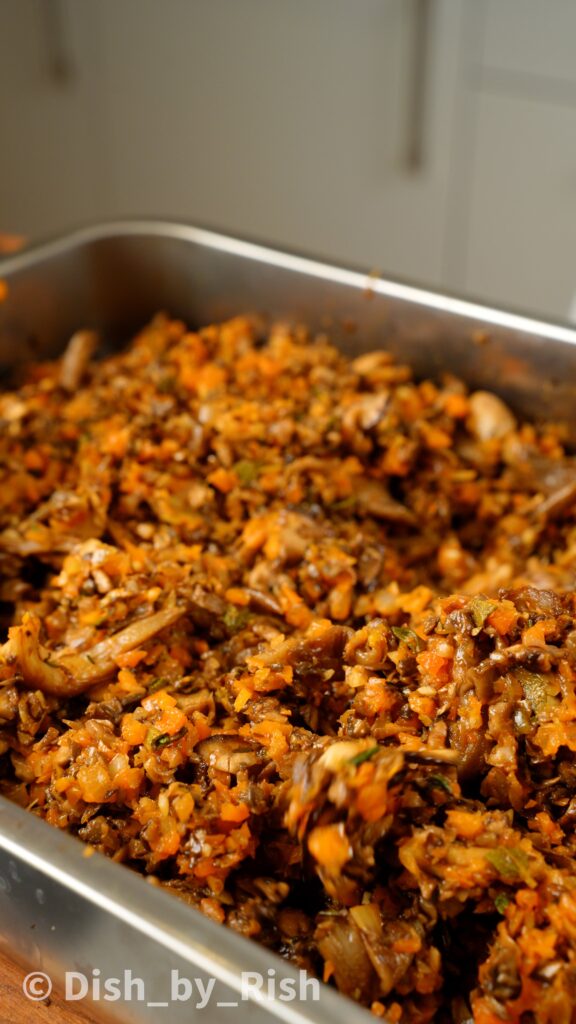
Cook everything together on a low heat for a further 2-3 minutes. Then add the mirepoix mixture to the mushrooms and mix well to combine
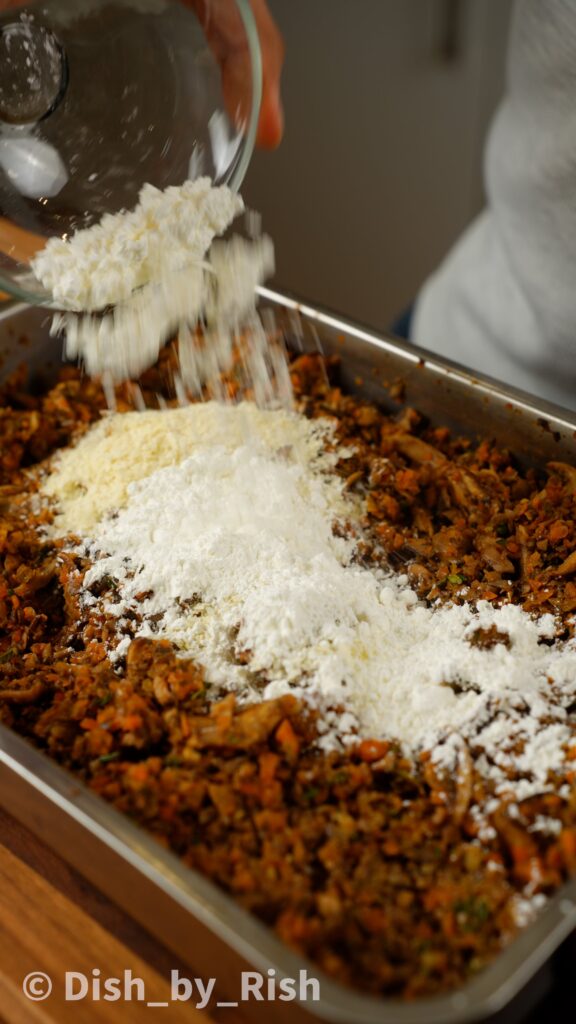

Finally, add in the wholegrain mustard. And then to bind, add in the instant mash and cornflour (cornflour for UK readers and corn starch for US readers). Mix well to combine, then set aside to cool completely
Assembling and baking the Mushroom Wellington

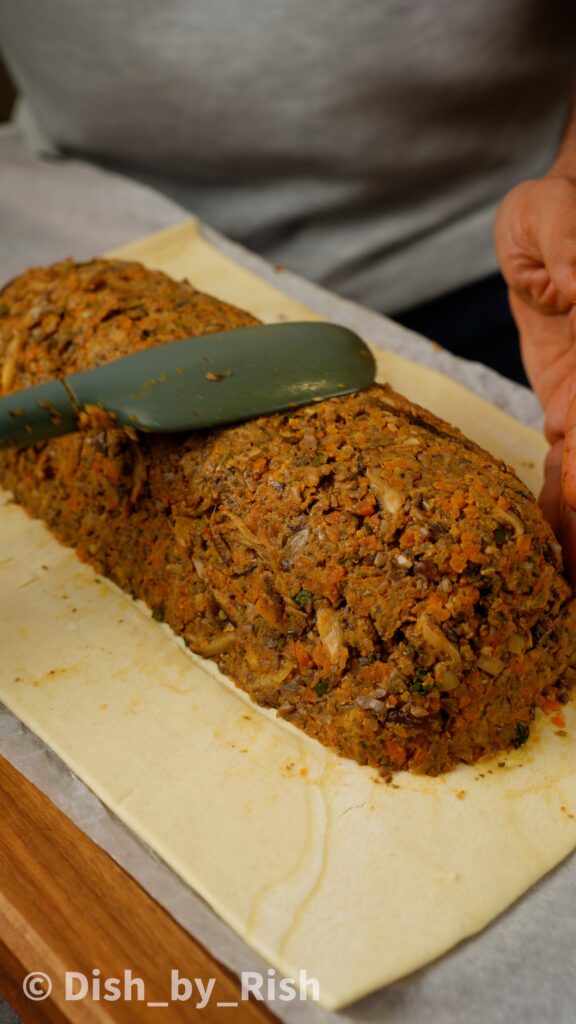
Start by placing the cooled mushroom filling in the centre (lengthways) of the puff pastry sheet. Then shape neatly and tightly into a half log with 2 inches of pastry either side and just over an inch front and back. The wellington will flatten slightly during baking so aim for more height here
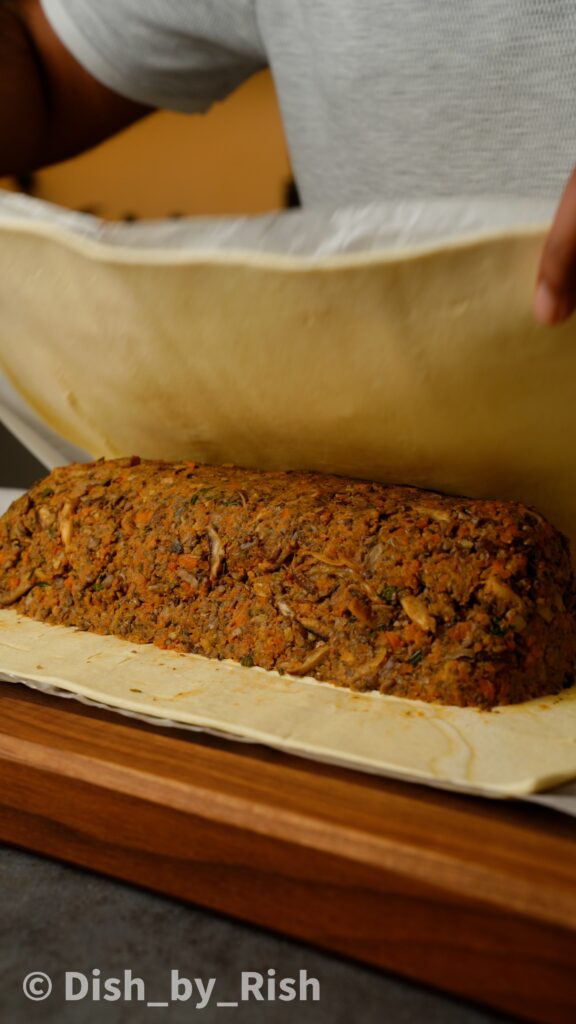
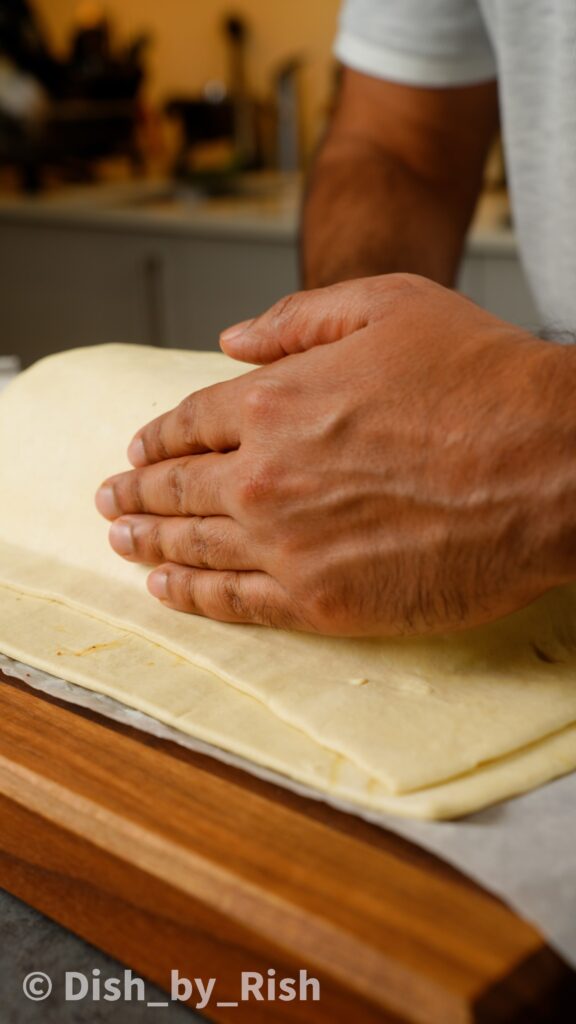
Then, place the second sheet of pastry directly over the mushroom filling and seal tightly all around. If there are any trapped air bubbles, these will puff up during the bake
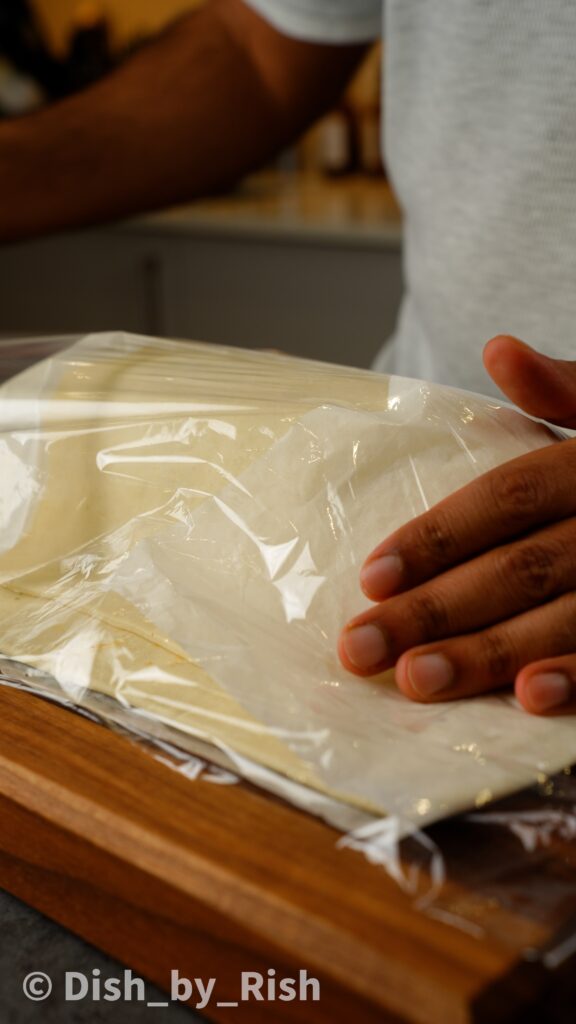
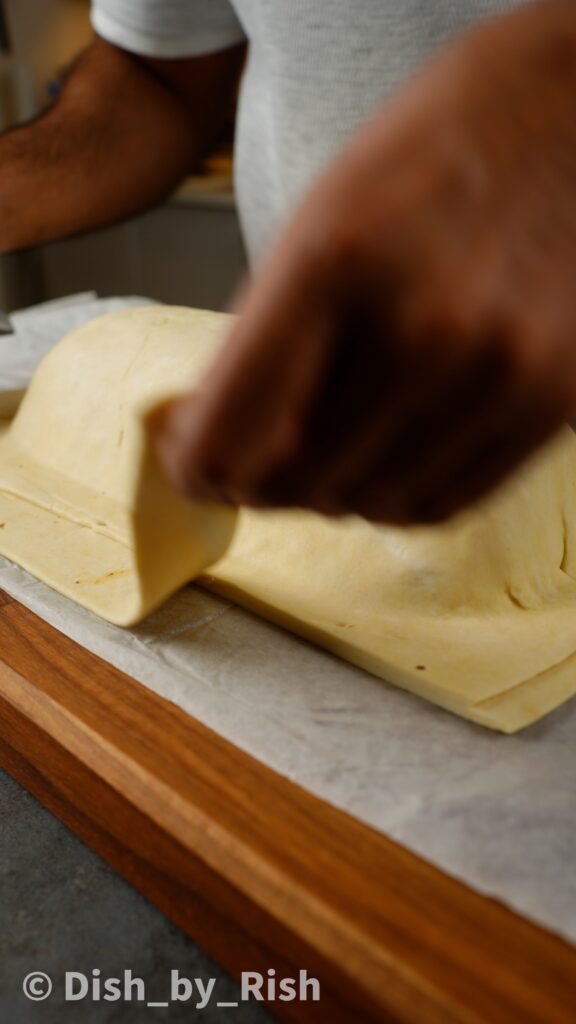
Wrap the wellington tightly in 2 layers of clingwrap and place into the fridge to chill for at least 3 hours, or up to 2 days
When you’re ready to bake, trim off the excess pastry with a sharp knife and a clean cut, leaving around 2cm of pastry all around. For the corners, I prefer to use a round pizza cutter
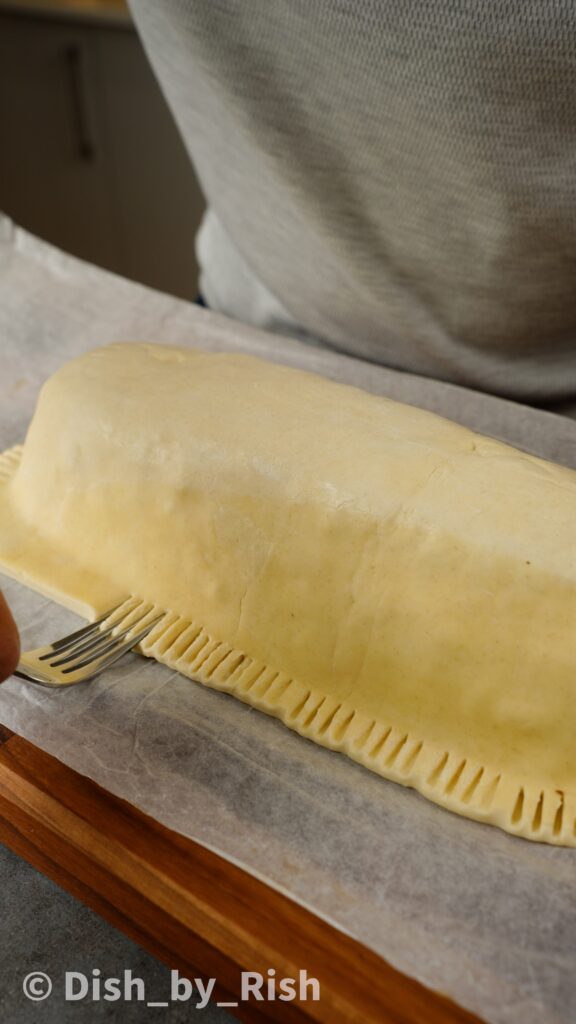

Crimp the edges of the pastry all around with a fork. And then make light scores on the surface of the pastry with a sharp knife. This can be in any pattern you desire
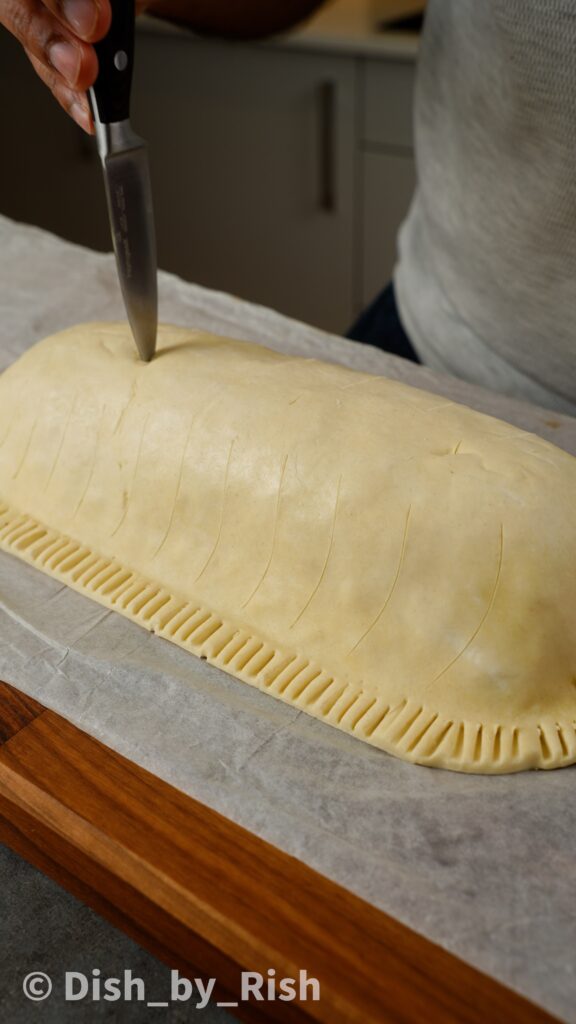
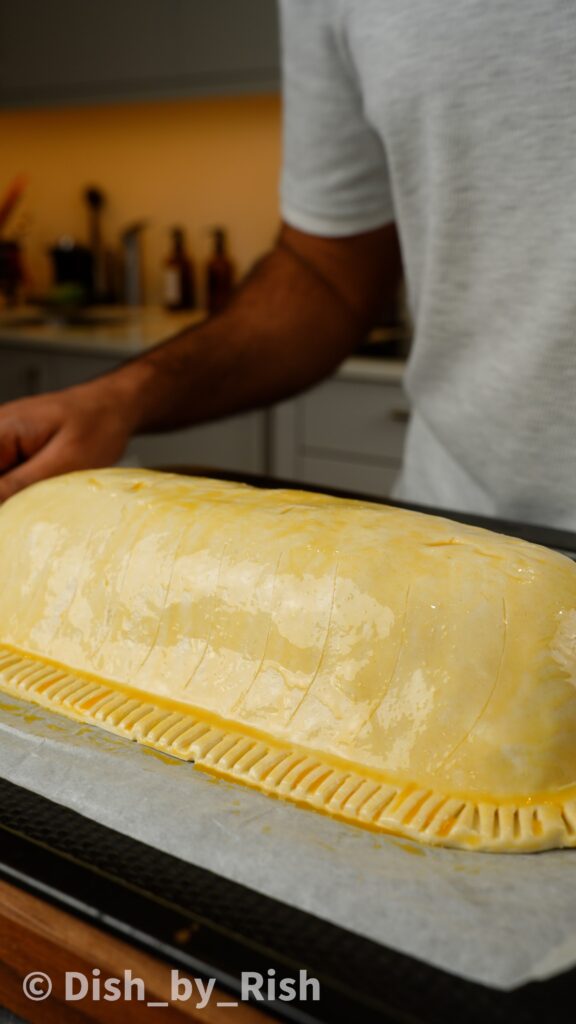
Also, make 3 small horizontal slits in the top of the pastry for venting. Then brush the wellington all over with an egg wash or any alternative of choice (listed in the notes of the recipe)
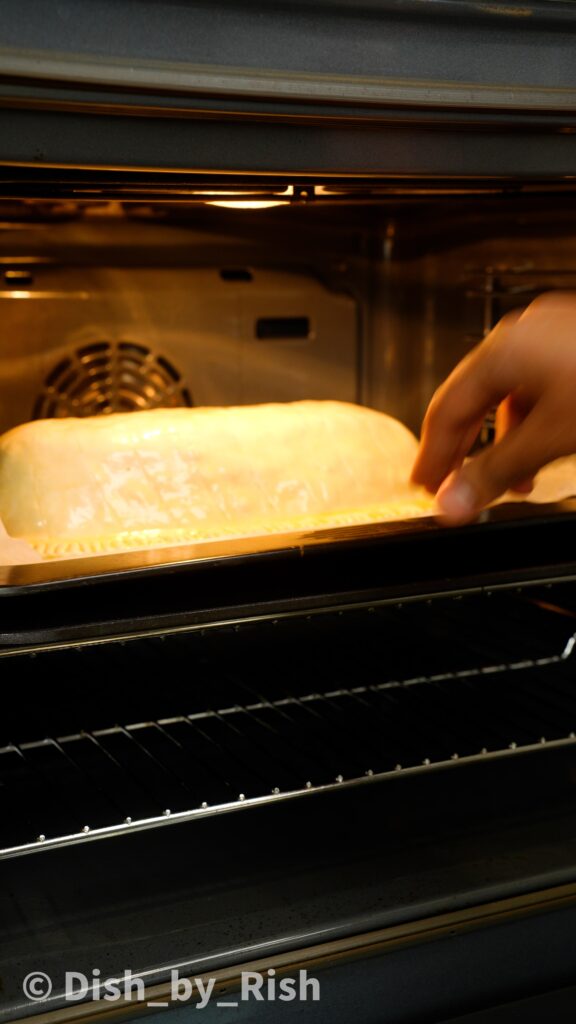
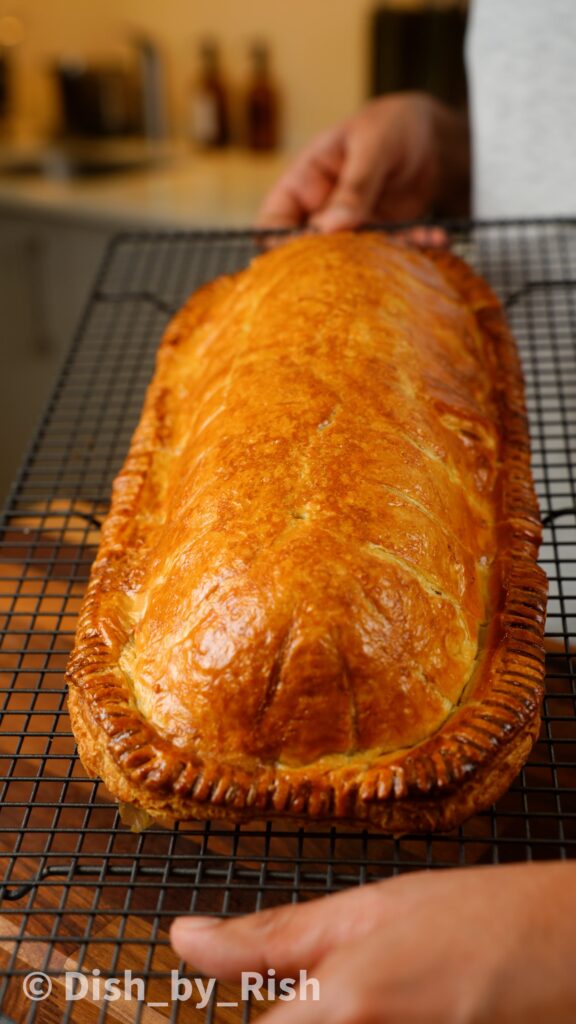
Place the wellington into the pre-heated oven and bake until golden brown and puffed up. Optionally, re-apply the egg wash in the last 15 minutes of the bake for an extra glossy sheen (highly recommend!)
Allow the wellington to cool for 15-20 minutes before cutting into, this will allow the mushroom filling to firm up. Don’t worry, it will still be very warm!
Frequently asked questions
Can this Mushroom Wellington be prepared in advance?
- My preferred method – Assemble the entire wellington and refrigerate for 1-2 days and bake directly from cold. Puff pastry works best when baked from chilled. Just make sure the wellington is wrapped tightly with a double layer of clingwrap to prevent the pastry drying out. Make sure the clingwrap is in contact with the pastry to reduce the likelihood of it drying out
- Make the mushroom filling 1-2 days in advance and assemble on the day of serving
- Assemble the entire wellington and freeze for 3-4 hours on a baking sheet, then once completely frozen, transfer to a freezer safe bag or wrap tightly in 2 layers of clingfilm and place back in the freezer till required (add 10 minutes to the bake time)
Can leftover Mushroom Wellington be re-heated?
Yes and very well so! Store any cooled leftovers in an airtight container and refrigerated for up to 5 days. Reheat in a 180’C/355’F preheated oven/air fryer for around 7-8 minutes.
Any egg wash alternatives?
You can use double cream/heavy cream/milk/clarified butter/olive oil as substitutes for an egg wash. Avoid using butter as the milk solids will separate and burn.
If you enjoyed this recipe
Please do let me know! Leave a review and a rating below, I’d love to know how you got on.
You can also tag me on Instagram at @dish_by_rish. Or follow me on Facebook, Pinterest, Youtube, and TikTok to keep up with all my cooking and baking creations.
Until then, happy cooking!

Mushroom Wellington
This hearty Mushroom Wellington has 3 types of caramelised mushrooms along with roasting herbs and a mirepoix. Encased in buttery puff pastry.
Ingredients
- 2x320g sheets of pre rolled puff pastry
- 750g chestnut mushrooms/baby bella
- 250g shiitake mushrooms
- 150g oyster mushrooms
- Pinch of salt
- 1tsp black pepper
- 4tbsp olive oil
- 2 medium carrots
- 3 sticks of celery
- 1 large white onion
- 4 cloves of garlic, minced
- 20 sage leaves, finely chopped
- 10 sprigs of thyme, leaves finely chopped
- 1 sprig of rosemary, leaves finely chopped
- 2tbsp tomato paste
- 2tbsp white miso paste
- 1tsp wholegrain mustard
- 30g instant mash (~6 tbsp)
- 40g cornflour (~4tbsp) - this is cornflour for UK readers and corn starch for US readers
For the egg wash (see notes for alternatives)
- 1 egg
- 1/2tbsp water
- Pinch of salt
Instructions
Let's start with the mushroom filling
- Start by blitzing/chopping the chestnut/baby bella mushrooms until they're roughly chopped. For the shiitake, simply de-stem (as the stems are often too fibrous to use) and thinly slice the caps. For the oyster mushrooms, tear these into thin strips
- Heat a wide non-stick pan over a high heat and caramelise all of the mushrooms in batches (no oil or salt needed). Do this in batches to prevent over crowding the pan which would cause the mushrooms to steam and turn soggy. Once they smell nutty and look caramelised, transfer them to a mixing bowl or tray and season lightly with a pinch of salt. You may need to add a touch of olive oil towards the end of cooking if you're finding the mushrooms sticking to the pan
- To make the mirepoix, start by blitzing the carrots, celery, and onion in a food processor until finely chopped. Alternatively, you could also do this by hand with a sharp knife
- Next, heat a pan with the olive oil over a low heat and sauté the mirepoix low and slow for around 10-15 minutes
- Once the moisture has been sweated out, it's time to season. Mix the miso paste and tomato paste with 4tbsp boiling water until it forms a smooth paste
- Then, add the miso tomato mixture to the mirepoix along with the garlic and fresh herbs
- Cook everything together on a low heat for a further 2-3 minutes. Then add the mirepoix mixture to the mushrooms and mix well to combine. Allow to cool slightly (~10 minutes)
- Finally, add in the wholegrain mustard. And then to bind, add in the instant mash and cornflour (cornflour for UK readers and corn starch for US readers). Mix well to combine, then set aside to cool completely. As the miso and instant mash contain salt, I wait until this point to check for seasoning and adjust if needed
Assembling the Mushroom Wellington
- For ease, assemble the wellington on a large sheet of baking paper/or the sheet it comes rolled in. This will make it easier to move around
- Start by placing the cooled mushroom filling in the centre (lengthways) of one puff pastry sheet. Then shape neatly and tightly into a half log with 2 inches of pastry either side and just over an inch front and back. The wellington will flatten slightly during baking so aim for more height here
- Then, place the second sheet of pastry directly over the mushroom filling and seal tightly all around. If there are any trapped air bubbles, these will puff up during the bake
- Move the baking paper and wellington on to a chopping board/baking sheet and wrap the wellington tightly in 2 layers of clingwrap and place into the fridge to chill for at least 3 hours, or up to 2 days
Baking the Mushroom Wellington
- Preheat the oven to 190'C (fan)/210'C conventional - 375'F/410'F
- Transfer the baking paper and wellington on to a baking sheet (if not on one already). Trim off the excess pastry with a sharp knife and a clean cut, leaving around 2cm of pastry all around. For the corners, I prefer to use a round pizza cutter
- Crimp the edges of the pastry all around with a fork. And then make light scores on the surface of the pastry with a sharp knife. This can be in any pattern you desire
- Also, make 3 small horizontal slits in the top of the pastry for venting. Then brush the wellington all over with an egg wash or any alternative of choice (listed in the notes below)
- Place the wellington into the pre-heated oven and bake for 55 minutes or until golden brown and puffed up. Optionally, re-apply another layer of egg wash in the last 15 minutes of the bake for an extra glossy sheen (highly recommend!)
- Allow the wellington to cool for 15-20 minutes before cutting into, this will allow the mushroom filling to firm up. Don't worry, it will still be very warm!
- Slice with a sharp serrated knife and serve immediately
Notes
Frequently asked questions
Can this Mushroom Wellington be prepared in advance?
- My preferred method - Assemble the entire wellington and refrigerate for 1-2 days and bake directly from cold. Puff pastry works best when baked from chilled. Just make sure the wellington is wrapped tightly with a double layer of clingwrap to prevent the pastry drying out. Make sure the clingwrap is in contact with the pastry to reduce the likelihood of it drying out.
- Make the mushroom filling 1-2 days in advance and assemble on the day of serving
- Assemble the entire wellington and freeze for 3-4 hours on a baking sheet, then once completely frozen, transfer to a freezer safe bag or wrap tightly in 2 layers of clingfilm and place back in the freezer till required (add 10 minutes to the bake time)
Can leftover Mushroom Wellington be re-heated?
Yes and very well so! Store any cooled leftovers in an airtight container and refrigerated for up to 5 days. Reheat in a 180'C/355'F preheated oven/air fryer for around 7-8 minutes.
Any egg wash alternatives?
You can use double cream/heavy cream/milk/clarified butter/olive oil as substitutes for an egg wash. Avoid using butter as the milk solids will separate and burn.
Nutrition Information
Yield 12 Serving Size 1Amount Per Serving Calories 118Total Fat 6gSaturated Fat 1gTrans Fat 0gUnsaturated Fat 5gCholesterol 16mgSodium 169mgCarbohydrates 13gFiber 3gSugar 3gProtein 4g
Note: This is an automated calculation and hence may not be entirely accurate.
3 Comments