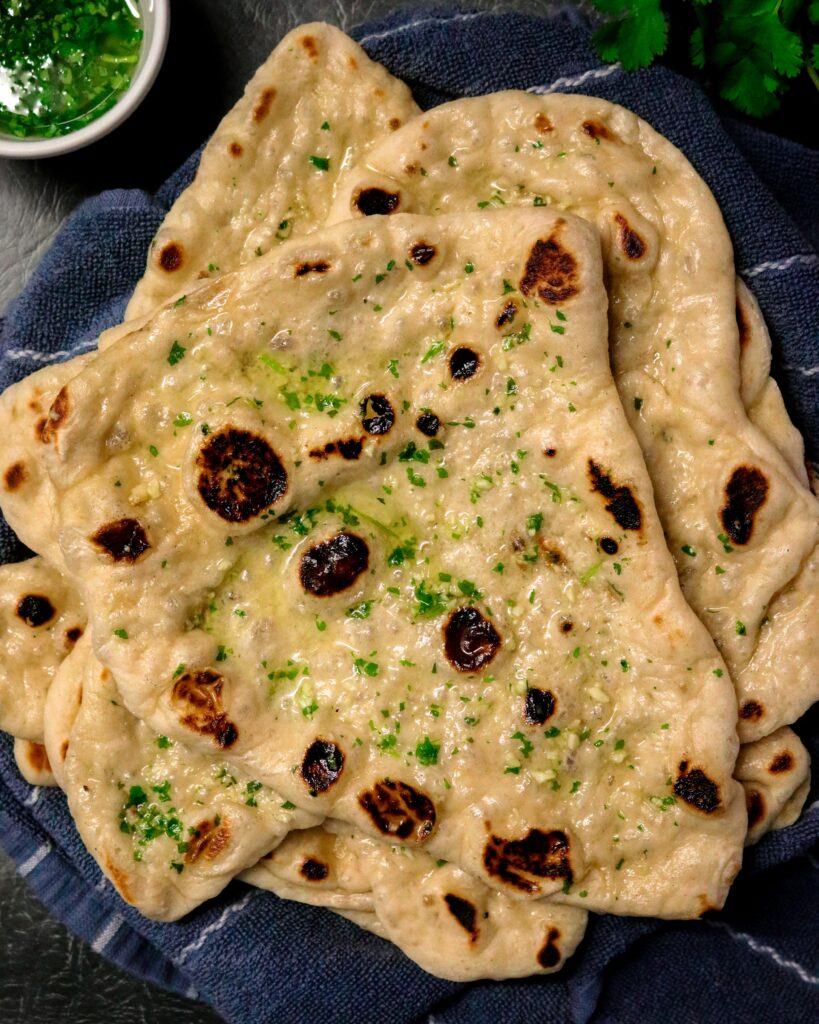
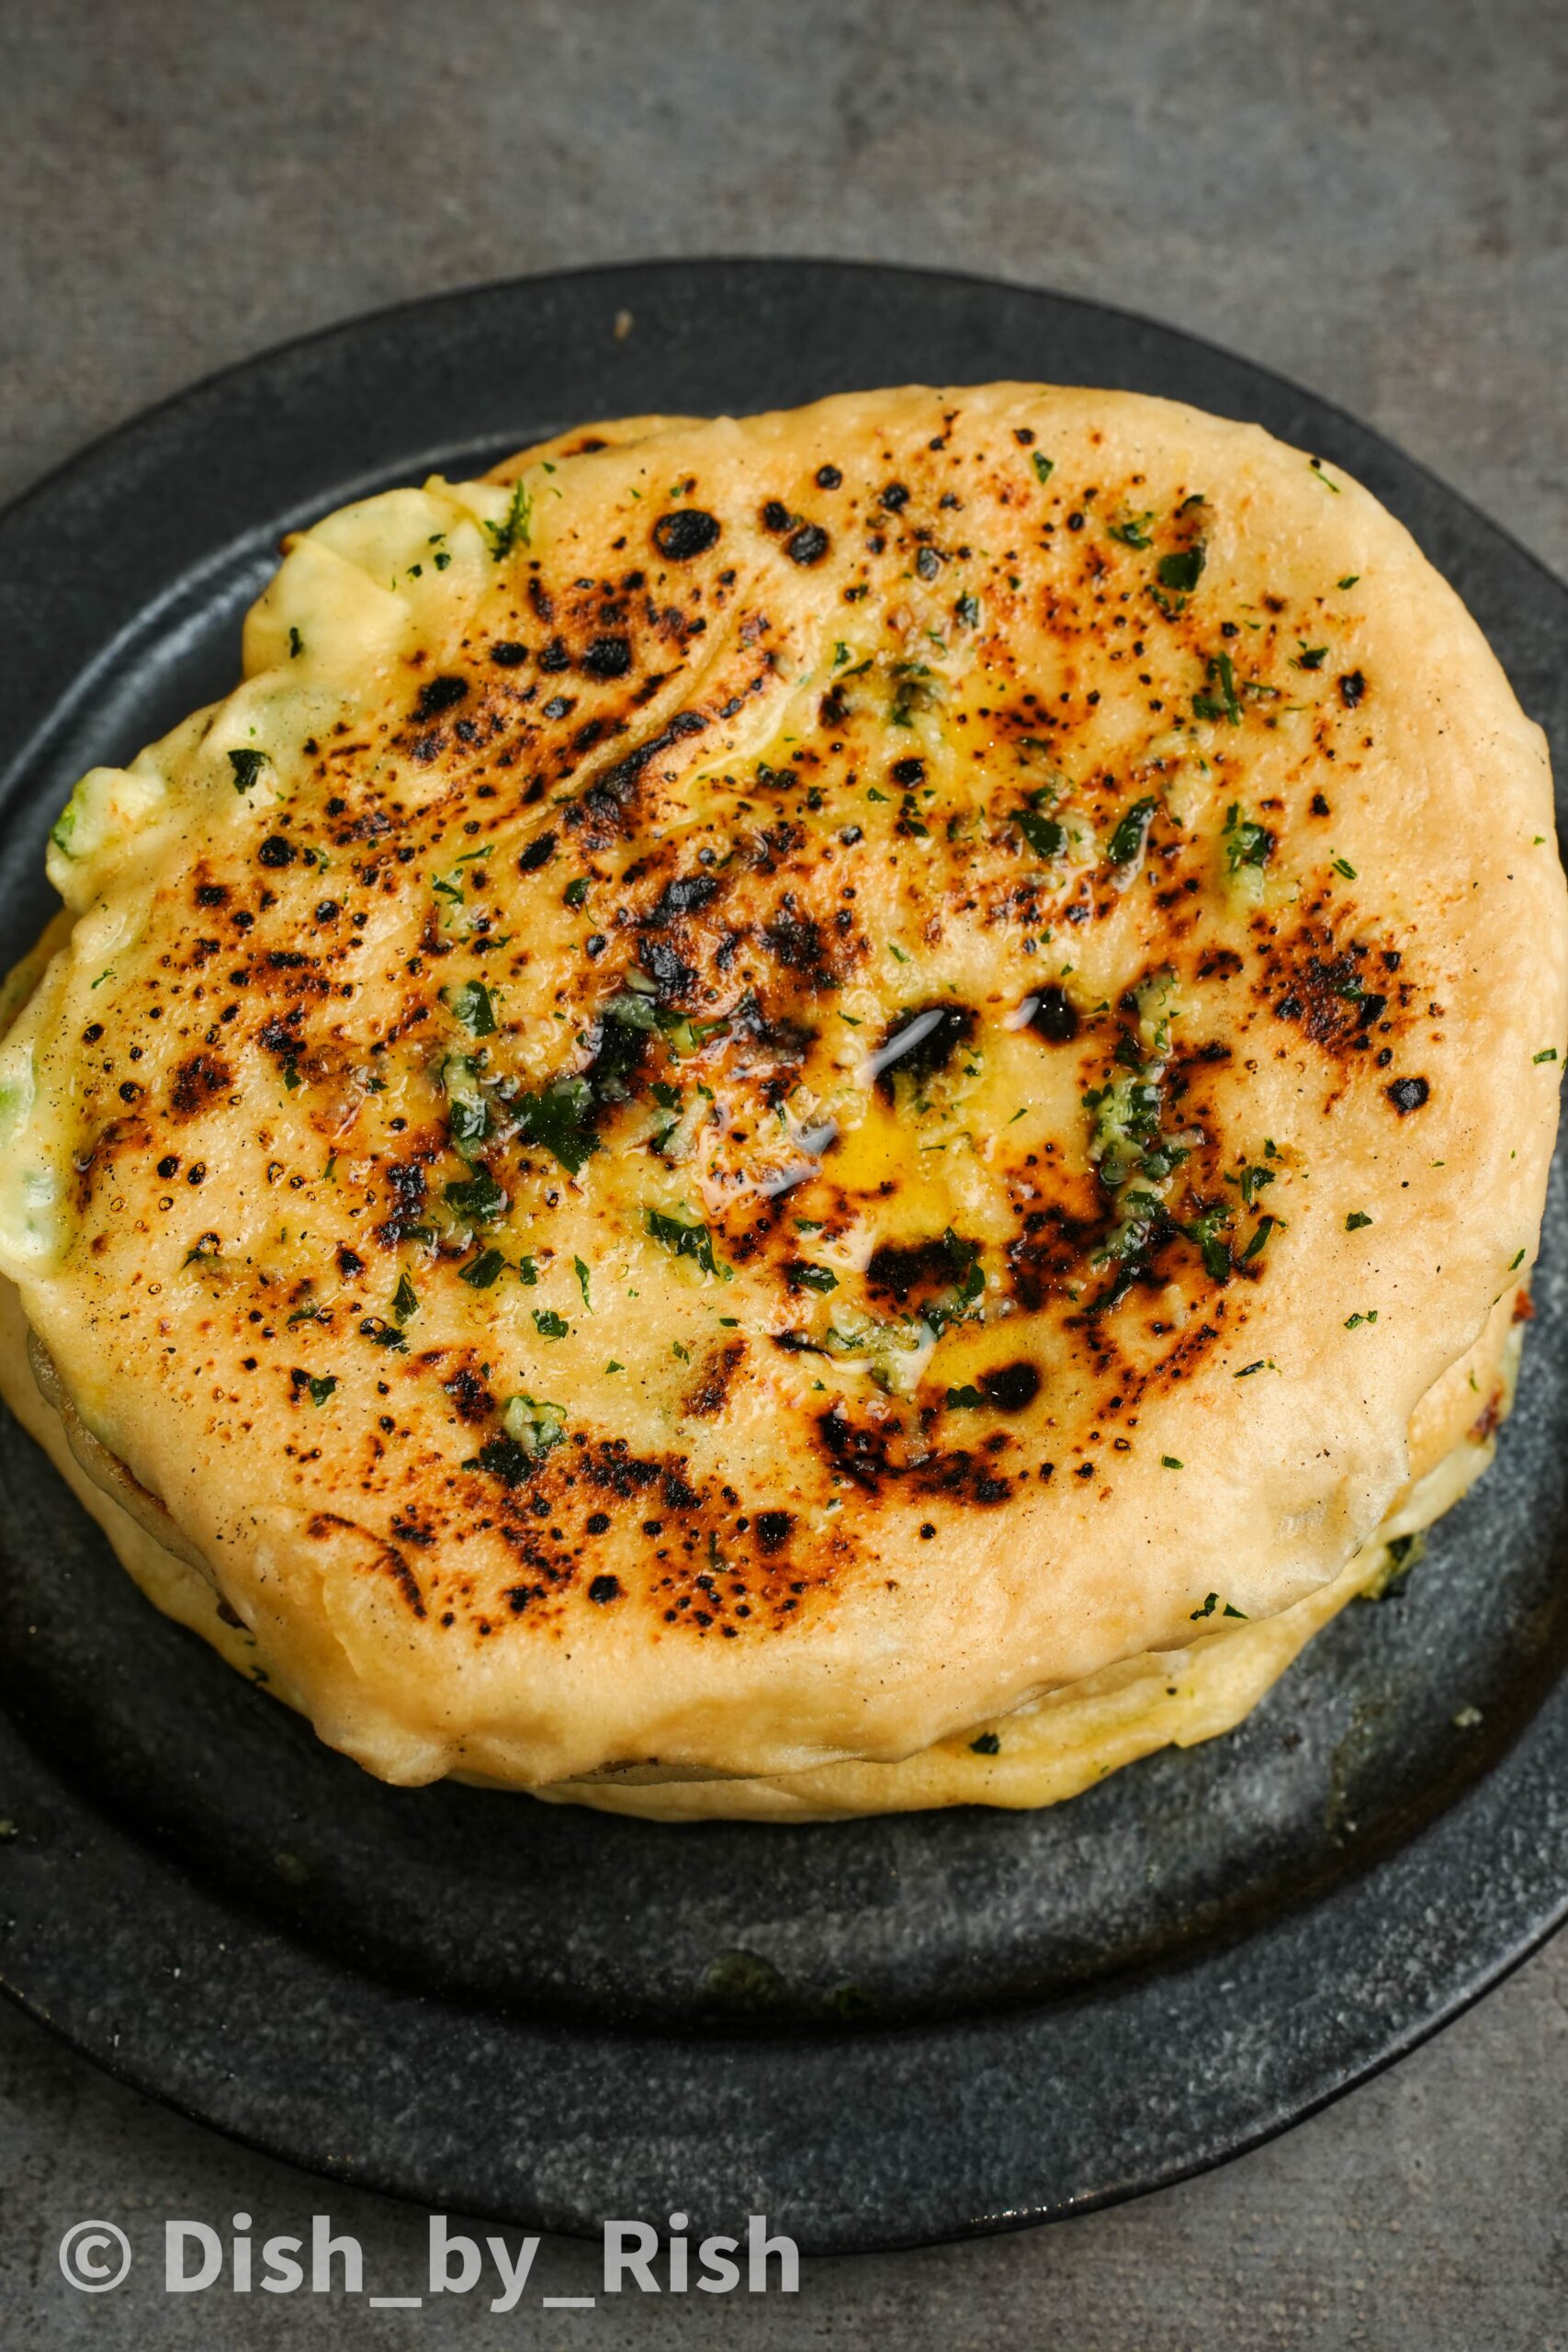
The ultimate homemade yeasted naan, perfect for brushing with garlic and coriander butter, and dunking into your favourite curries.
I’m sure we’re all familiar with naan. The iconic bread that we’re so used to ordering at our favourite Indian restaurants. You know, the one that’s slightly charred from it’s brief encounter with the tandoor (clay oven), and easily tears apart to dunk right into our favourite curries.
I can’t think of anything better than some naan brushed with garlic and coriander butter. To have that rich, flavourful butter just lathered all across my naan is honestly one of the best sights and smells. Naan is always a hit with my family, and a pretty regular occurrence. I’ve been making naan for years and so it just feels like a natural process to me. It’s certainly a therapeutic one.
Our day to day bread is usually a roti (a chappati/wholemeal flatbread), so naan always makes a welcomed change.
So what is naan?
Naan is essentially a leavened flatbread, which means it contains some form of raising agent to provide its airy texture. Hence for this naan, the raising agent we will be using is yeast. Other variations do exist which may utilise self raising flour or baking powder/baking soda. However I strongly stand by yeast when it comes to making a good quality naan. It’s the best raising agent for flavour development, especially when cold proving is involved. I’ll touch on this later.
Traditionally naan is cooked in a tandoor, which is what imparts the most incredible char and flavour. However to adapt this to the everyday kitchen these naan will be cooked in a skillet or wide frying pan. I would advise a cast iron skillet, or anything with good heat conductivity for best results. This makes it the perfect naan recipe for the everyday home-cook and no special equipment required!
What you’ll need to make these homemade naan
You’ll need the following:
- Strong white bread flour – this will allow for a good level of gluten formation. You can use plain flour/all purpose flour as a second choice. But bear in mind you will likely need to add more flour during kneading as these flours are not able to absorb as much water as strong white bread flour
- Salt
- Sugar
- Yeast – I use instant yeast/fast action dried yeast which can be added directly to the flour
- Water – I use cold water when using instant yeast but you’ll require warm water if you’re using active dry yeast or fresh yeast
- Yoghurt – this tenderises the dough due to its acidity. It will also enrich the dough slightly and add flavour
- Oil – also helps to tenderise the dough by adding some fat
What other variations of this homemade naan can I make?
You could make:
- Garlic naan – blitz together some salted butter, garlic, coriander and a gentle drizzle of olive oil in a food processor and brush over hot naan! This is entirely up to taste so add as much or as little of each as you like
- Chilli garlic naan – and I have the perfect recipe here!
- Butter naan – just add a gentle spread of butter over hot naan
Which yeast should I use for this homemade naan?
You could use active dry yeast or fresh yeast, both will require activation by placing it in warm water mixed with the sugar. This process takes roughly 5-10 minutes. You will see frothing and bubbling on the surface is the sign of activation. Fresh yeast has a short shelf life so just make sure your batch is fresh if you do intend to use this form of yeast.
You can also use instant yeast/fast action yeast (which is my preference), this can be added directly to the flour. You can still use warm water to shorten the proving time however cold water will also work absolutely fine here. In fact I do recommend using cold water with instant yeast, it allows the yeast to work more slowly, which imparts more flavour and allows to dough to autolyse well. Autolysis is the process where the flour hydrates, allowing for the enzymes to break down the proteins and starches. This allows for gluten formation which is crucial for an airy and bubbly naan. It also allows for the dough to relax which helps to prevent tears when stretching out.

Can homemade naan be made with wholemeal flour?
Yes but it can be overpowering in flavour and can also lead to a more dense naan. I would recommend at the most doing 50:50 of wholemeal bread flour and white bread flour. With wholemeal it tends to require more water, so judge your dough by its texture. What this means is that your final dough should be a slightly sticky dough. Hence, if it seems dry, add more water whilst kneading.

Can I make the naan dough in advance?
You can make your naan dough in advance and do the bulk rise in the fridge. If you’re going to make these 12-24 hours in advance, drop the yeast amount to 5g active dry/4g instant/8g of fresh. The dough can then be portioned into dough balls straight out of the fridge the next day. As the dough will be cold, allow for an additional hour resting time for the doughballs. This will vary dependent on kitchen temperature, i.e. a hot day = shorter time and cold day = longer resting time.
Naan dough can also be frozen but it needs to be completely thawed before rolling out. To freeze, place each doughball in individual freezer safe bags until frozen. After they are completely frozen they can then be transferred to one large bag.
Homemade naan: to stretch by hand or with a rolling pin?
Always by hand in my opinion.
You can use a rolling pin to help roll these out, but I’ve always done it by hand as that’s what I’m used to. The concept of taking a rolling pin to a leavened dough baffles me, as you run the risk of losing some of those precious air pockets. It definitely takes practice to stretch out naan by hand but you’ll get the hang of it pretty quickly.
Cold rising naan dough
This is hands down the best tip I can give you for making really good naan. Make the dough the day before, or even 2 days before. I can’t stress enough how big of an impact this makes on the naan.
It does mean having to plan in advance but boy, oh boy is it worth it. Leaving the naan dough in the fridge to rise allows the yeast to work their magic in a cold environment. This means they produce more flavourful acids which means more flavourful naan. The slower fermentation also allows for better gluten formation which means larger and more consistent bubbling as the dough is essentially stronger and able to retain these pockets of air.
Long story short, just do it… or at least try it. At the very least go for an overnight rise for 12 hours in the fridge. You won’t look back.
How long will these homemade naan last?
These homemade naan will keep refrigerated for 3-4 days and can be reheated in a microwave or on a skillet. If using a skillet, place a lid or plate on top which will keep the moisture locked in to your naan. However if the naan seems dry, dampen it with some water before placing in the skillet, then cover – this will create steam to soften the naan again.
How to make homemade naan
Let’s get to best bit!
Making the dough
First we have to prepare our naan dough, I’m using a standing mixer but this will also work just fine by hand. I’m also using instant yeast and hence adding it directly to my flour.
Mix together the flour, salt sugar and instant yeast. Then add the water and mix. If you’re using fresh yeast or active dry, activate it in water and sugar first. If you’re mixing the dough by hand it’s also easier to add the yogurt and oil now too.
Keep mixing the dough as it goes from looking ‘shaggy’ to somewhat smooth, this is showing that we’re starting to get some gluten development and the flour is absorbing the water.
At this stage then add the yogurt and oil and continue to mix until a soft and smooth dough that cleans the bowl as it mixes. It will have a slight tackiness to the touch.
Transfer the dough to a clean surface and shape into a doughball. This can be done by dragging the dough against the counter which will develop some tension on the top of the doughball.
Transfer the dough to a container and cover with a damp towel/lid/cling film and allow to rest until it doubles in size. The dough can be refrigerated at this stage for 12-48 hours. Once it has risen, lightly flour the surface and transfer again to a clean counter.
Shaping the doughballs
Portion your dough into 8 pieces, I tend to just use some scissors as it’s easy.
Take one piece and fold the corners in on itself to develop structure and tension.
Turn the doughball over so it’s seam side down and tighten the doughball by gently dragging it against a clean counter. Do this for all 8 pieces.
Transfer the doughballs to a lightly floured tray and cover with a damp towel/lid/cling film and allow to rest and prove once more. Then shape by hand or with a rolling pin into your desired shape. I always use my hands, it’s my preferred method and it preserves more of the air pockets (in my opinion).
Cooking the naan
Shake off any excess flour and transfer directly to a pan on medium-high heat. Once you start to see bubbling and the base has browned, flip over and continue to cook until lightly charred.

The Ultimate Homemade Naan
Ingredients
Ingredients:
- 490 g strong white bread flour plus extra on the side
- 1 tsp salt
- 7 g active dry yeast/5g instant dry yeast/10g fresh yeast
- 250 ml warm water
- 2 tbsp olive oil
- 2 tsp sugar
- 3 tbsp plain yogurt/vegan yogurt
Instructions
Method:
- Dissolve your sugar into the warm water and add your yeast (if using active dry or fresh) – leave to bloom for 5 minutes. Instant dry yeast can be added directly into the flour and does not need activating
- Mix your flour and salt
- Once your yeast mixture has bloomed, add it to the flour along with your yogurt and olive oil
- Mix to combine and knead for 5-7 mins until you can form a smooth dough ball. The dough ball should have the slightest “stick” to it
- Place into a greased bowl and cover with a damp towel, leave to rise for 1-1.5 hours or until doubled in size (or refrigerate overnight for best results – see blog post for information on cold rising)
- Once risen, turn out onto a floured surface and gently press down into a circle
- Cut into equal sized pieces, either into 8 for large naan or 16 for small naan. Use scissors or a sharp knife. Roll each piece of dough into a ball
- Cover the dough balls with a damp towel for another 25-30 minutes to rest the gluten. You will need to add an additional 45-60 mins for this rest period if you had placed your dough in the refrigerator.
- Roll each piece of dough into your desired shape preferably by hand, otherwise with a rolling pin
- Cook each piece on a large flat pan on medium/high heat and flip when you see the large bubbles and the base has turned golden
- As soon as they come off the heat, brush with butter/vegan alternative


5 Comments
Smoky Daal (5 different lentils) - Dish by Rish
May 10, 2021 at 5:28 am[…] This smoky daal is our go-to whenever we crave a fakeaway. The charcoal just takes it to the next level and the mix of spices and smokiness adds a ton of depth. Pair this with some roti (traditional Indian flatbread), or some rice, or even some naan. You’ll find my naan recipe here: https://www.dishbyrish.co.uk/2021/03/the-ultimate-homemade-naan/ […]
Homemade Mint Sauce - Dish by Rish
February 4, 2023 at 3:15 pm[…] Garlic naan (tap for my naan recipe) […]
Chilli Paneer - Dish by Rish
March 29, 2023 at 4:38 pm[…] Homemade Naan or Chilli Garlic Naan […]
Szechuan Paneer - Dish by Rish
October 5, 2023 at 3:45 pm[…] could serve it alongside some Naan, rice, or even some noodles. If you’re really a spice fiend, my Chilli Garlic Naan would be […]
Jalapeno Popper Stuffed Naan - Dish by Rish
February 29, 2024 at 12:33 pm[…] naan is a take on my Naan Recipe, so if you’re looking for something a bit more traditional then feel free to head on over […]