Try this egg free decadent biscoff and chocolate mousse. A buttery cookie base with an airy chocolate mousse, finished with a biscoff glaze.
Biscoff and chocolate. What more do we really need in a dessert.
I’m all for a good dessert, especially one that requires minimal effort. From mug cakes, to affogatos, to a dark chocolate digestives. I am here for them all.
However mousses often get overlooked in this category and I don’t quite understand why. They are technically quite straightforward and only require a very few handful of ingredients. They are also outrageously decadent.
If I went to a dinner party and saw a decadent chocolate mousse on the menu. I’ll be honest, you’ll be my best friend from that moment onwards. I’ll also have a little, ‘ok so they’re fancy’ moment.
Now I will admit, the only downfall of a chocolate mousse is the setting time. You have to give it a few hours to really set up if you want to reap the rewards.
But it’s worth it and this will easily become your go to dessert choice. Especially when you really don’t want anything that involves a lot of work.
We’re playing on the classic chocolate mousse here with a little addition of biscoff. The mousse is totally great on its own and you could totally serve it that way.
But if you’re a biscoff fan like myself. Well, then this is an opportunity you shouldn’t pass up on.
Biscoff and Chocolate Mousse
There are 3 layers to this dessert, plus a garnish.
But before we get into that. Can we all just admit that if we saw a ‘Biscoff and Chocolate Mousse’ on any menu, we’d be in absolute awe and ready to jump at it?
I mean, I would anyways.
So back to the dessert. The 3 layers are a buttery biscoff base, a rich dark chocolate mousse, and a biscoff glaze. We have a subtle garnish of a few more crumbs of biscuits and some shaved chocolate.
Some may say that the garnish is totally unnecessary. But I say we’re in the realm of desserts and there is no such thing as unnecessary.
This is a very rich dessert so do not be fooled. A small portion of this does go a long way. But it is one of the best desserts you can finish a menu on.
The mousse is light and airy whilst also being eggless. It’s also easily adapted for a vegan diet with a few simple swaps.

What is Biscoff?
Biscoff is a caramelised biscuit that’s been around for quite some time. It’s sold in it’s classic rectangle shape with rounded corners. Adorned with ‘Lotus’ written in italic across the centre.
Biscoff biscuits are essentially a type of speculoos biscuit. Speculoos is a term that originated in Belgium and refers to a crunchy, spicy cookie or biscuit.
It’s got a very unique and delicious flavour profile. Which in my opinion makes it not only one of the tastiest biscuits, but also one of the most versatile.
The biscuits have a short, crumbly texture with a lovely crunch. Within these textures is also the slightest, most mild crispiness. It’s quite a different texture form most other biscuits and cookies.
The flavour profile is of a deep caramel with subtle spicing. It’s definitely got notes of cinnamon and brown sugar. Basically all the flavours that I love!
Not just biscuits there’s also a spread!
Not only is biscoff available in cookie form, it’s also available as a cookie spread. Think of Nutella or peanut butter, but made from biscoff biscuits. It’s also often sold as Cookie butter.
We’ll be using both the biscuits and the cookie spread in this recipe!
Now although biscoff is normally and more traditionally paired with coffee. The buttery, caramelised, subtle spicing of the biscuit pairs with chocolate beautifully.
It’s an epic combination of flavours for a dessert and a guaranteed crowd please.

It’s really somewhat of a mousse cake
Because we’re layering this Biscoff and Chocolate Mousse, it becomes more of a mousse cake than just a mousse.
Mousse cakes can come in various forms, ranging from a base layer of sponge cake to a base layer of biscuits. There’s sometimes also a layer of whipped cream on top.
We don’t have a sponge layer as a base here but we do have a biscuit base. It’s very much similar to a cheesecake base but made from biscoff biscuits. It adds texture to an otherwise light, creamy, and smooth mousse.
Biscoff and Chocolate Mousse layers
We have 3 distinct layers here:
Biscoff biscuit base
A base layer made from ground up biscoff biscuits and butter. Basically reminiscent of a cheesecake base and this is what adds texture to the dessert.
This layer is no bake which makes it even easier!
Chocolate mousse
An eggless aquafaba based mousse that also doesn’t require any cream. It’s simply aquafaba (chickpea liquid) and dark chocolate.
I won’t lie to you, this layer is very rich. The decadence in this chocolate mousse comes from the amount of chocolate used. You do need a good amount of it!
Biscoff glaze
This is simply melted biscoff spread poured over the mousse. It adds an extra layer of flavour and texture to the dessert. Plus just the best caramelised flavour ever.
Garnishes
More ground biscuits and some shaved dark chocolate. Just for a finishing touch of elegance. You don’t have to garnish if you don’t want to though.
But why wouldn’t you?
This mousse doesn’t require eggs
This always throws people off but I assure you, it works. One of the first recipes I posted on Instagram 3 years ago was an eggless chocolate mousse.
Instead of eggs we’re utilising aquafaba. Which is essentially chickpea water. This method is commonly used throughout the egg-free and vegan communities as it whips up perfectly just like egg whites.
As it whips it incorporates air which is what gives the mousse it’s airy texture. Mousse has to have an airy texture otherwise in my books it’s not really a mousse.
Some make mousses out of just whipped cream and melted chocolate but essentially that’s just a ganache. It doesn’t aerate in the same way as the aquafaba does.

What you’ll need to make this Biscoff and Chocolate Mousse
The full recipe can be found at the end of the blogpost
You’ll require:
- Aquafaba – from a tin of chickpeas. I’ll explain this further below
- Cream of tartar – this stabilises the aquafaba. You can substitute for a couple of drops of lemon juice or vinegar
- Caster sugar
- Biscoff/Speculoos biscuits
- Butter
- Dark chocolate
- Biscoff spread/cookie butter
What is aquafaba and do I need it for this mousse?
Aquafaba is basically bean juice. I know that sounds horrible but I promise it really isn’t.
It’s the liquid portion inside a tin of chickpeas and it’s rather magical stuff. It’s the stuff your normally pour down the sink. And I’m going to show you why you shouldn’t.
This starchy liquid is somehow able to whip up just like egg whites. It traps air in the same way and creates a foam. It can be used to make vegan meringues, pavlovas, vegan mayonnaise and so many other creations.
As it whips, it begins to aerate and you will eventually reach a stiff peak stage like you would with egg whites. But there are certain ingredients that can be added to help stabilise the structure of the foam. These are normally acidic ingredients.
That’s where the cream of tartar comes into play. It’s an acid that helps to stabilise the meringue. A couple of drops of lemon juice or vinegar will also achieve the same result.
Sugar is also a great stabiliser and structure builder, hence you may see plenty of aquafaba recipes using a fairly decent amount of sugar or sugar syrup.
Can I make this vegan?
You absolutely can and it’s very easy to do.
As biscoff biscuits are already vegan, and so is the spread. All you need to do is use a vegan butter for the biscuit base and a vegan dark chocolate for the mousse.
Aquafaba as mentioned before is the liquid from a tin of chickpeas. That’s already vegan, so honestly there’s not much you need to do here in order to veganise this one.
How to make this Biscoff and Chocolate Mousse (photos)
Let’s start with the Biscoff biscuit base
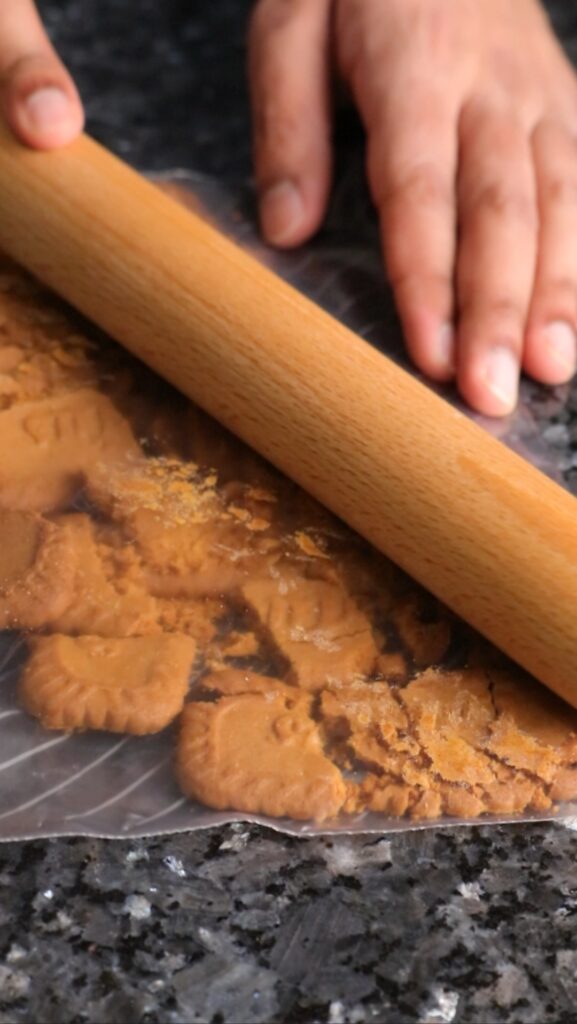

1) Place the biscoff biscuits into a bag and crush them with a rolling pin until coarsely ground
2) Pour over the melted butter and mix till it forms a ‘wet sand’ like appearance

3) Place the biscuit mixture into ramekins, but make sure to leave extra for garnishing. And gently press down with the back of a spoon into an even layer. Then refrigerate.
Next let’s make the aquafaba chocolate mousse
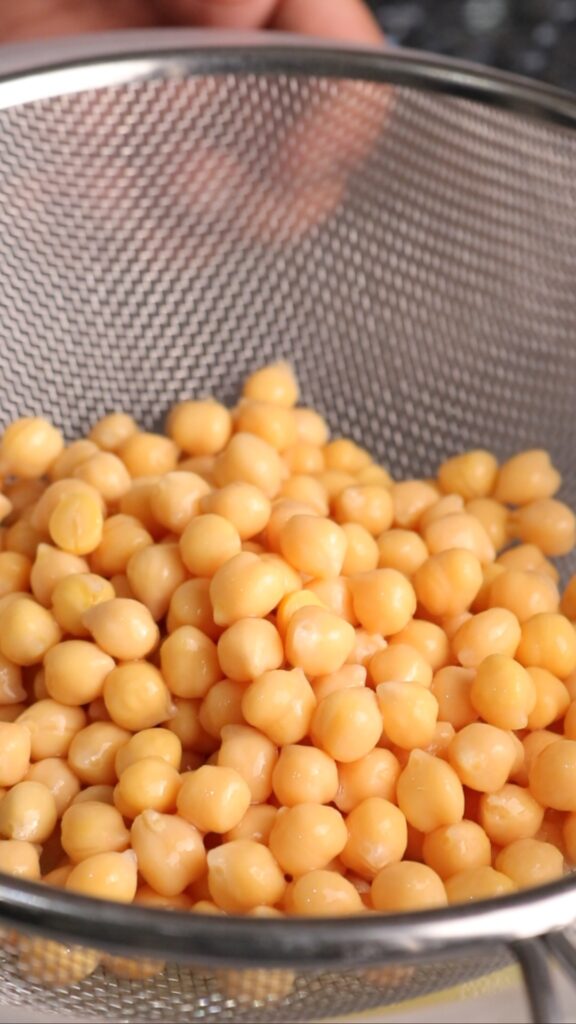

1) Drain a tin of chickpeas over a mixing bowl, keep the chickpeas for a separate recipe. We’ll be using the chickpea liquid (aquafaba) today
2) Each tin should provide anywhere from 150-170ml of aquafaba. I recommend measuring the volume for precision, though it is not essential
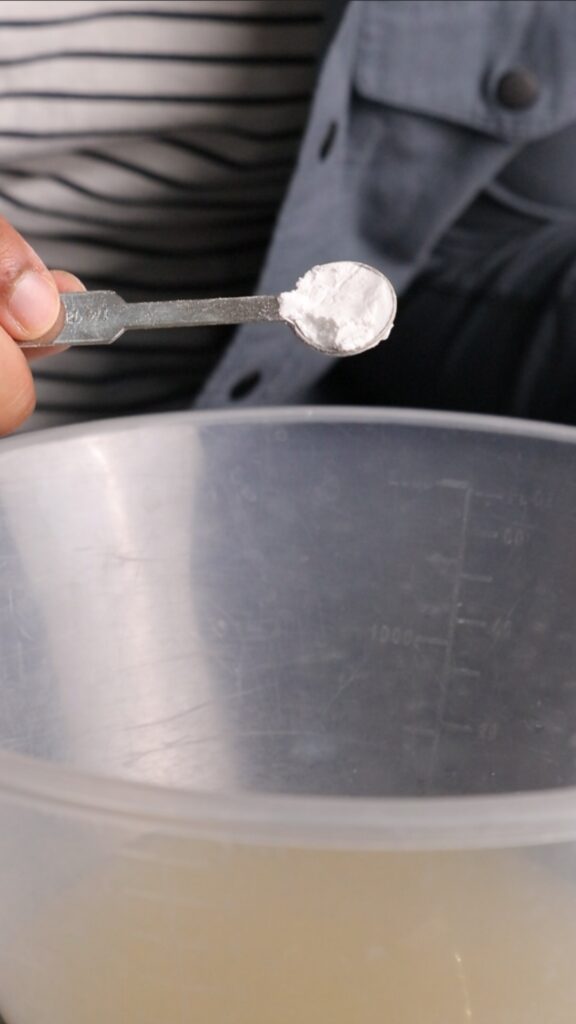
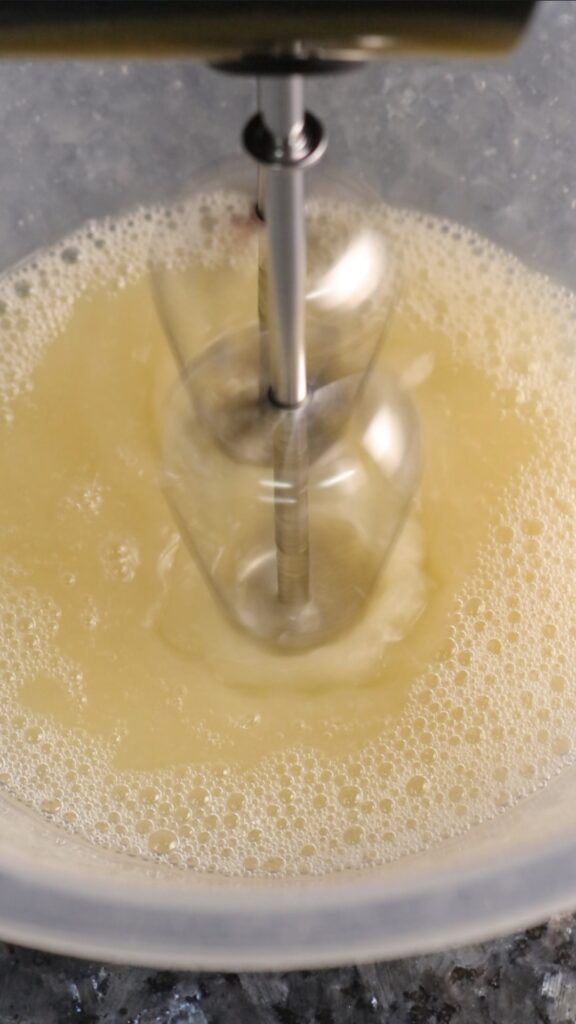
3) Add a 1/4 tsp of cream of tartar to the aquafaba
4) Begin whisking the aquafaba with an electric whisk
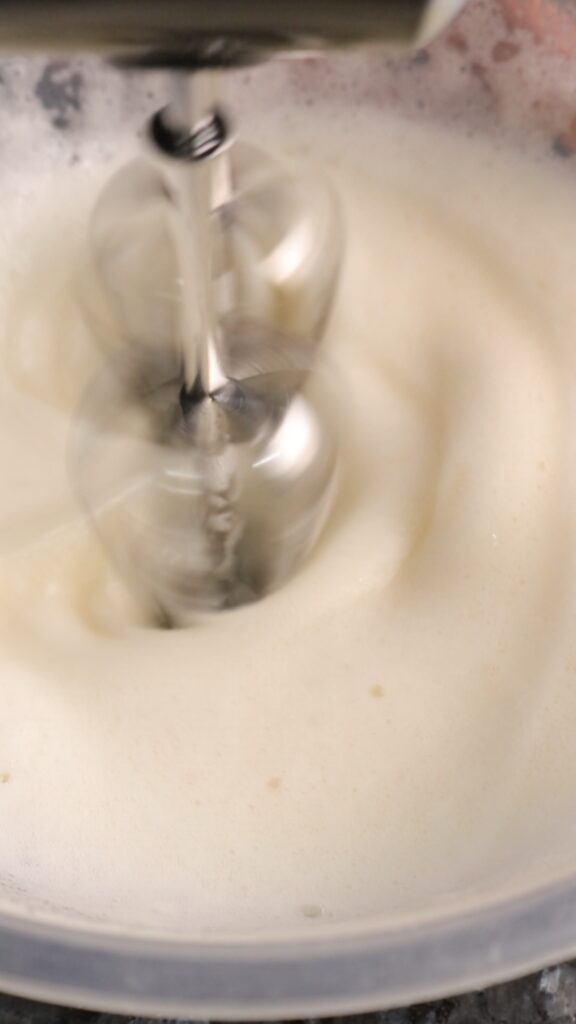
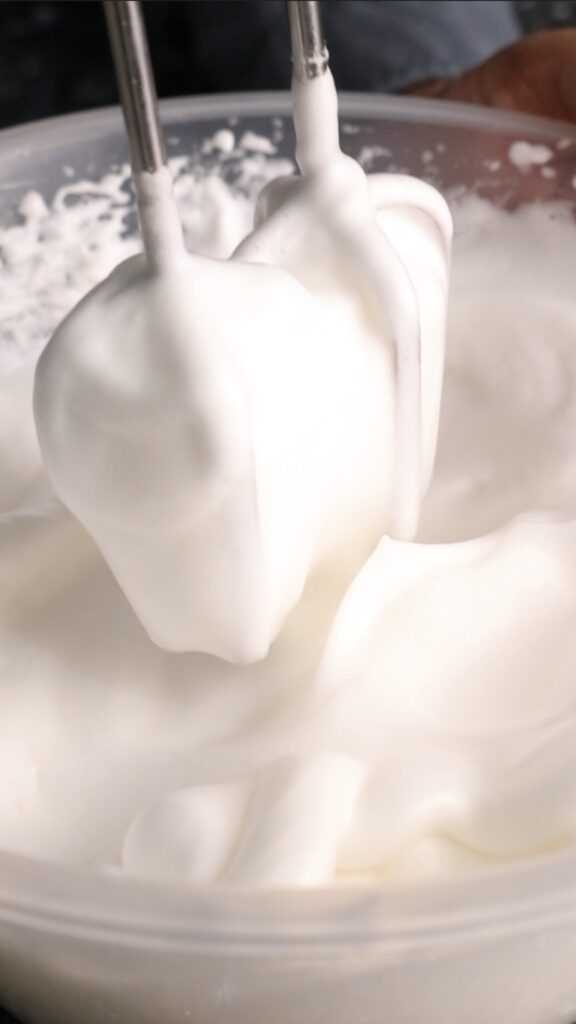
5) The aquafaba will begin to turn pale and frothy, at this stage add in the caster sugar. Then continue whisking
6) It will eventually form stiff peaks in the same way an egg white based meringue would. Aquafaba can’t be over whisked so if you’re unsure, keep whisking
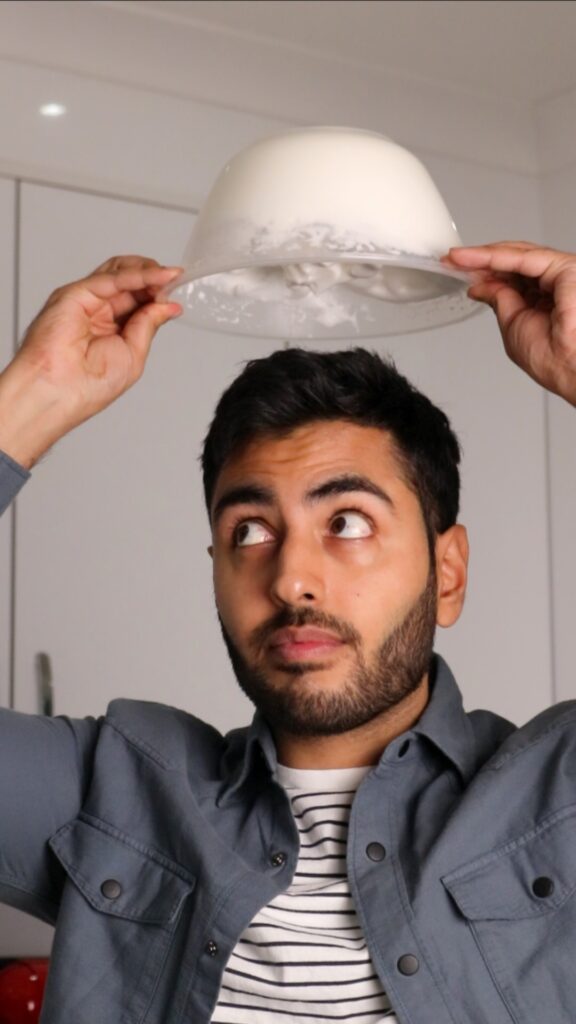
7) One method to check for stiff peaks is to turn the bowl over your head. If your aquafaba has reached stiff peaks it won’t fall. This is not an essential step so I don’t take any blame for any messes made during this recipe
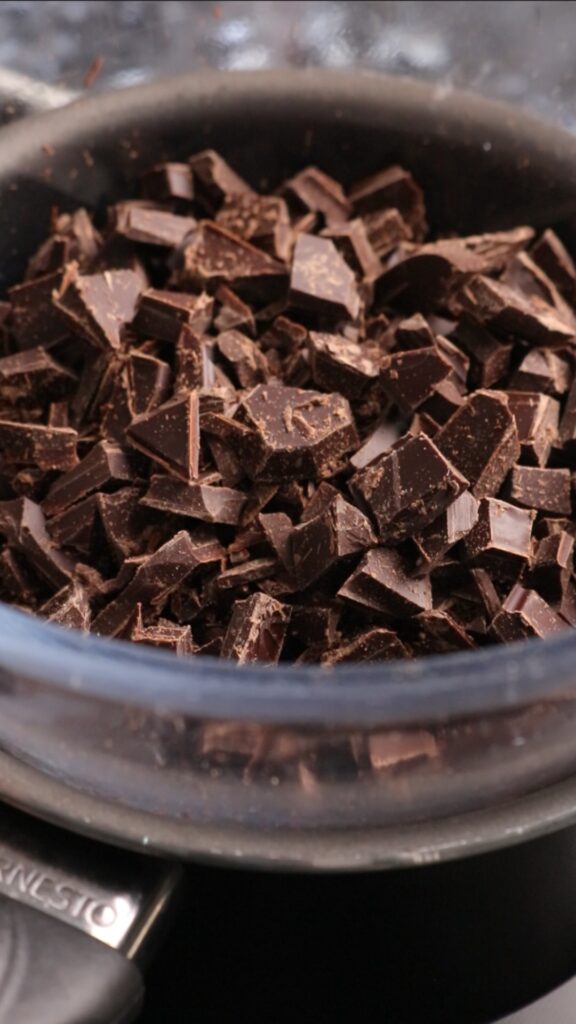
8) You can also at the same time melt your chocolate over a bain marie. This involves placing the chocolate into a bowl over a saucepan of simmering water. The base of the bowl must not be in contact with the water

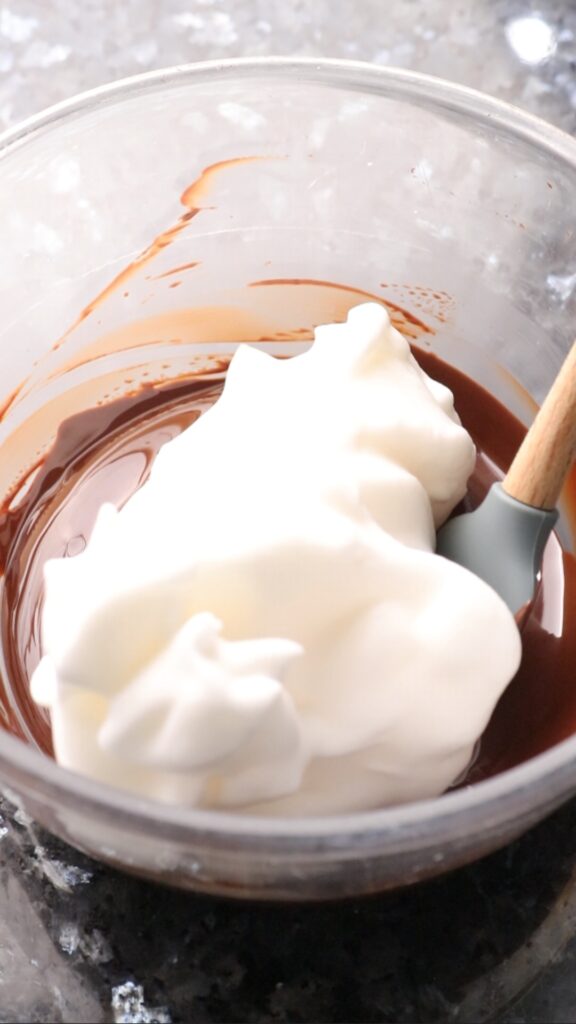
9) Allow the melted chocolate to cool for 10 minutes before starting the next step
10) Fold a small amount of the aquafaba meringue mixture into the melted chocolate (roughly 1/5th of the mixture)
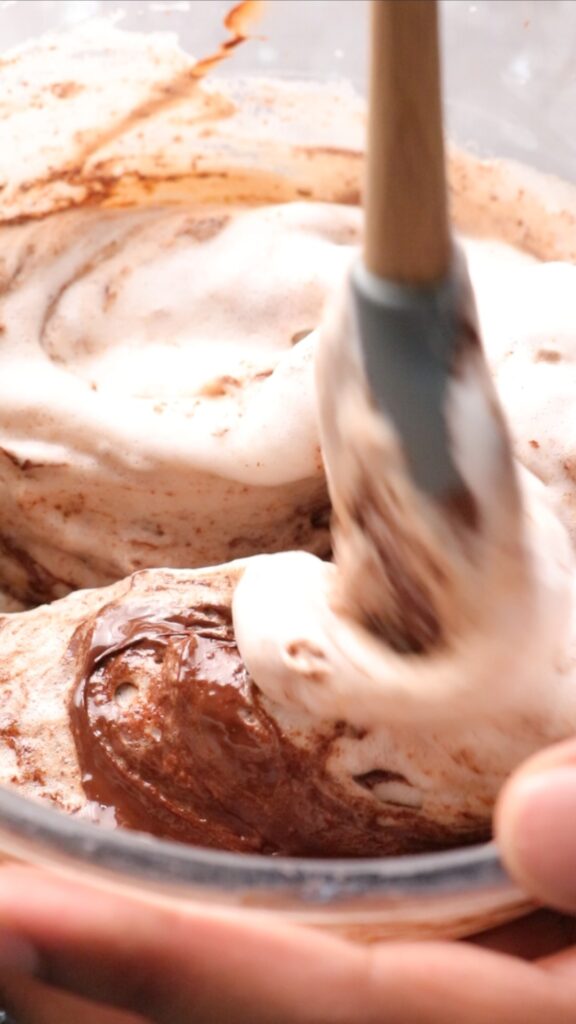

11) Fold the chocolate and aquafaba, do not whisk or beat. We want to retain the airiness
12) Once incorporated fold in another 1/5th of the aquafaba into the chocolate mixture


13) Now, pour the chocolate and aquafaba mixture back into the aquafaba
14) Fold until completely incorporated into a light, creamy, glossy mousse
Finally let’s assemble the Biscoff and Chocolate Mousse
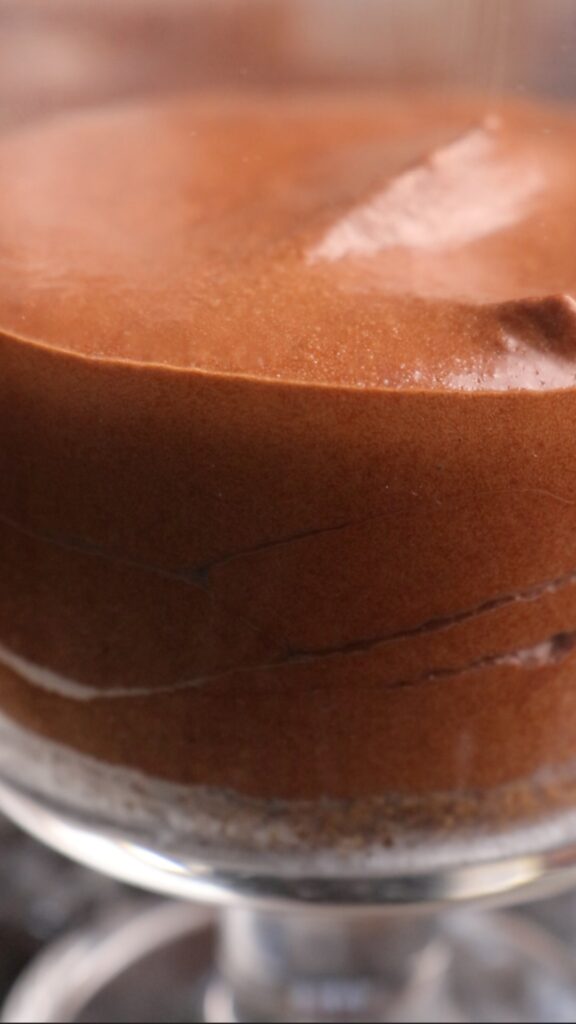
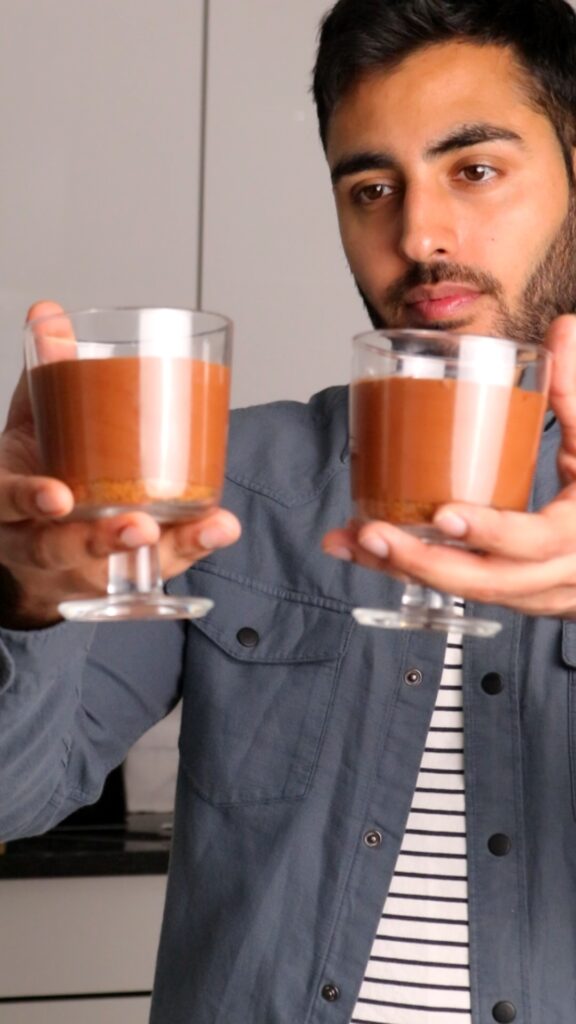
1) Transfer the mousse mixture to the ramekins
2) Deeply stare at your creation, enjoy the moment. Then refrigerate for at least 6 hours
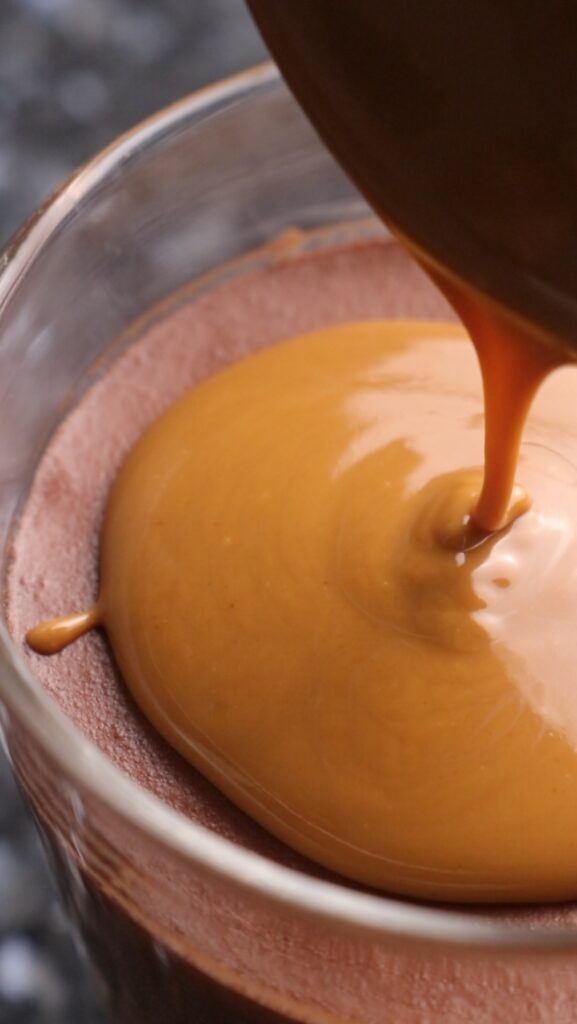
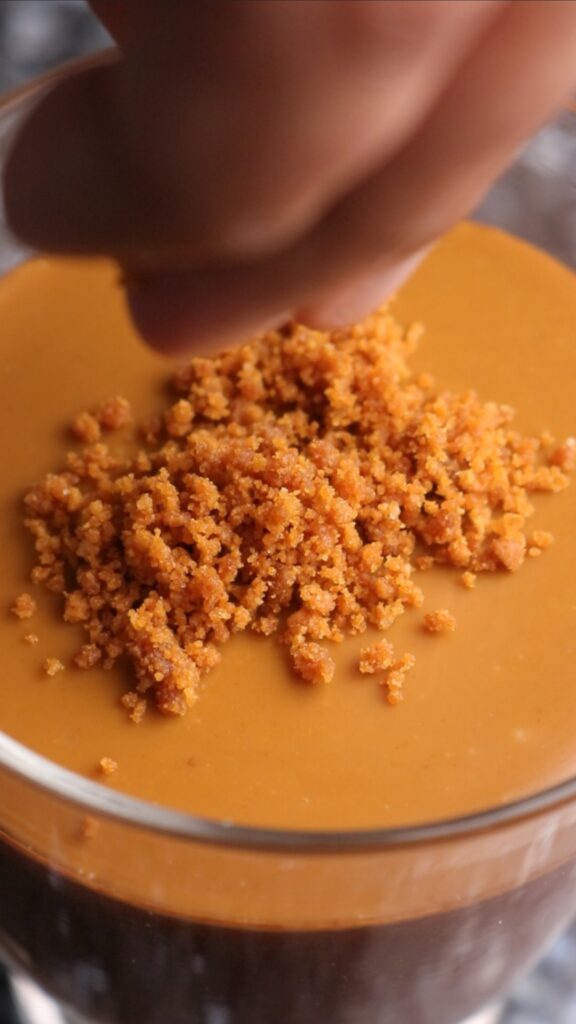
3) After the mousse has finished chilling, pour over some melted biscoff spread and chill again for 5 minutes
4) Top with a few more crushed biscuits
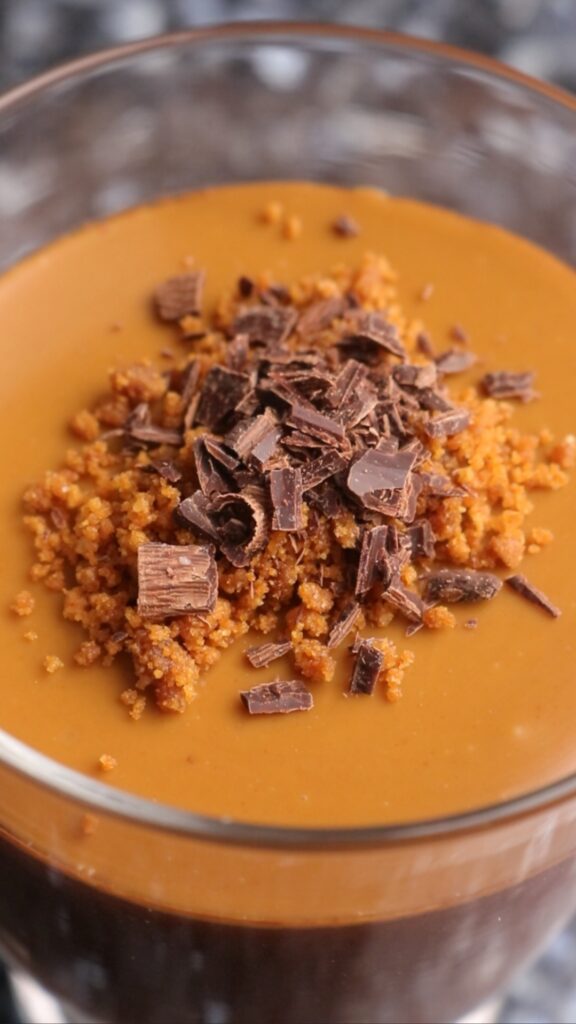
5) And finally some grated chocolate. And that’s it, you’re done!
How to make Biscoff and Chocolate Mousse (video)
If you enjoyed this recipe
Please do let me know! Leave a review and a rating below, I’d love to know how you got on.
You can also tag me on Instagram at @dish_by_rish. Or follow me on Facebook, Pinterest, Youtube, and TikTok to keep up with all my cooking and baking creations.
Until then, happy cooking!

Biscoff and Chocolate Mousse
Equipment
- Large mixing bowl
- Heatproof bowl
- Electric whisk
- 4 individual ramekins (3″ diameter and 1.5″ height) or 2 large ramekins (3″ diameter and 3″ height)
Ingredients
For the base:
- 10 biscoff biscuits
- 2 tbsp butter melted
For the mousse:
- 170 ml aquafaba – from 1x400g tin of chickpeas in unsalted water*
- 1/4 tsp cream of tartar or 1/2 tsp lemon juice
- 140 g chocolate I prefer a 70% dark chocolate but use your favourite bar here. Keep extra for garnishing
- 2 tbsp caster sugar
For the garnishing:
- 4 tbsp smooth biscoff spread
Instructions
For the base:
- First place the biscoff biscuits into a zip-lock bag and crush them with a rolling pin until coarsely ground. Transfer to a small bowl
- Then pour over the melted butter and mix until it forms a 'wet sand' like appearance. Split this evenly between 4 individual ramekins or 2 large ramekins, making sure to leave aside a little extra for garnishing
- Press the biscuit base down into the ramekins with the back of the spoon into an even layer. Then transfer to the refrigerator to chill
For the aquafaba mousse:
- Roughly chop the chocolate and transfer to a heatproof bowl. I recommend melting this over a bain marie rather than a microwave as the microwave can sometimes overheat the chocolate causing it to seize. Once melted leave aside to cool
- Now drain a tin of chickpeas over a clean bowl to separate the aquafaba (chickpea water). There must be no grease/oil/fat residue in this bowl or on any other utensils used. If fat comes into contact with the aquafaba it will not whisk up
- Add the cream of tartar or lemon juice to the aquafaba and begin whisking with an electric whisk
- Once the aquafaba starts to turn pale and frothy, add the caster sugar and continue to whisk. The sugar provides additional structure here
- Continue whisking until you reach a stiff peak stage. This will be when you lift the whisk out and it forms firm tips in the aquafaba which stand up straight and hold their shape. Aquafaba cannot be over whisked so if unsure, keep whisking. This process can take 7-10 minutes
- Ensure the chocolate has cooled to a point where it is no longer warm but is still runny before carrying out the next step
- Add around 1/5th of the whipped aquafaba to the chocolate and gently fold in until incorporated
- Then add another 1/5th of the whipped aquafaba and repeat. Ensure to fold rather than whisk as we want to retain all the air
- Then add the chocolate and aquafaba mixture back into the large bowl of whipped aquafaba. Continue to gently fold until incorporated. It is perfectly normal for the aquafaba to deflate during this process. The resulting mixture should be thick, creamy, glossy, and airy. It will be of a spoonable consistency
- Divide equally between the 4 individual sized ramekins or 2 large ramekins that we had placed the biscuit base in. Transfer back into the refrigerator for a minimum of 6 hours
For garnishing:
- Melt the biscoff spread in the microwave in very short bursts until pourable. Then pour over the chilled and set mousse. Rotate the ramekins to spread an even layer. Place back into the refrigerator for 5 minutes
- Top with some of the extra ground biscuits from earlier and some grated chocolate
Notes
- *Different brands of chickpea tins can have different volumes of aquafaba. If like myself you value precision, I would recommend measuring the volume of aquafaba. You should have anywhere around 150-170ml
- The ratio of chocolate to aquafaba is around 0.8:1 though a few grams here and there won’t make a difference when working with such a small amount.
- I.e. if you end up with 160ml of aquafaba, you would want to use 128g (or rounded to 130g) of chocolate
- Or if you’re very unlucky and end up with 150ml of aquafaba, you would want to use 120g
- This is not an essential step, but some of you may want to scale up the recipe (for a party for e.g.) and the extra precision will help!


1 Comment
Kitty
August 11, 2024 at 8:28 pmAbsolutely DIVINE! Total crowd pleaser, and simple to make. More plant based foods and desserts please, Rish!